The Kawaii Haven
Menu
Search
Cart
/ 0 items
Products
What is The Kawaii Haven?
About Us
KawaiiHaven.com Terms of Use
Contact
Welcome to The Kawaii Haven!
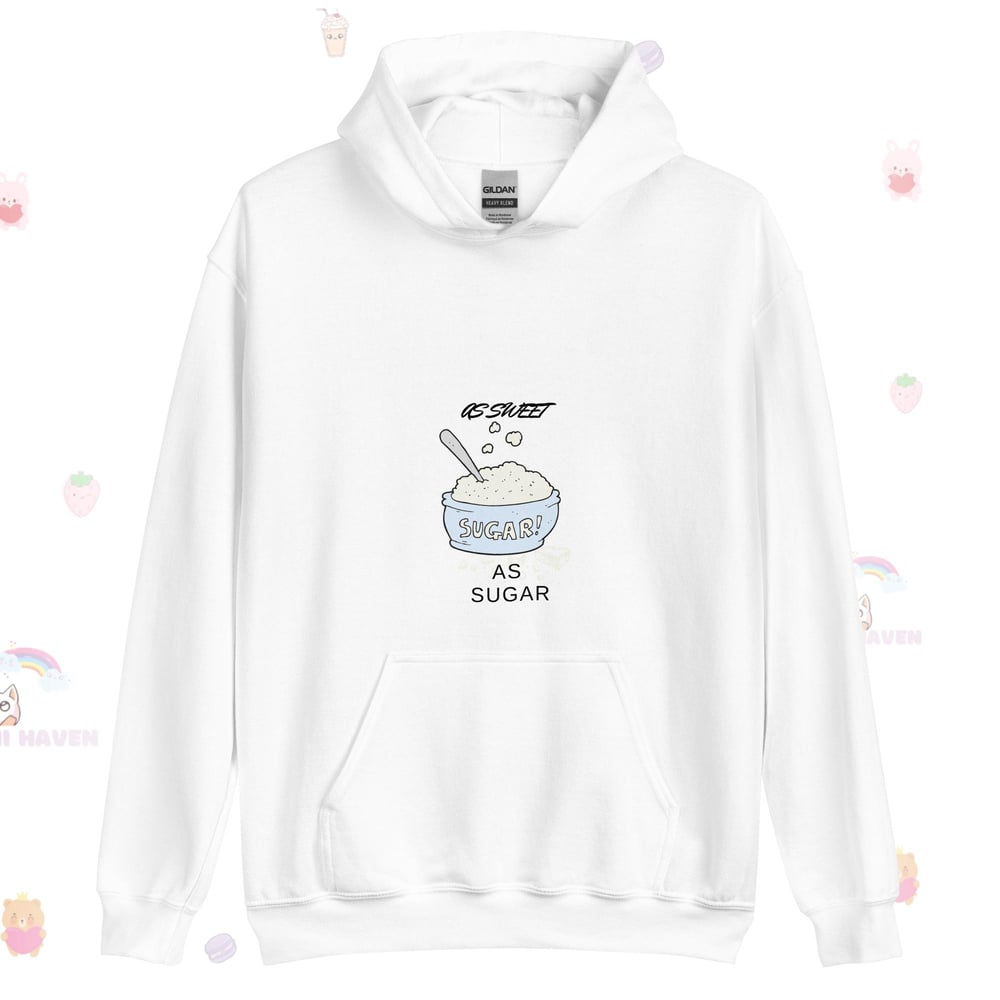
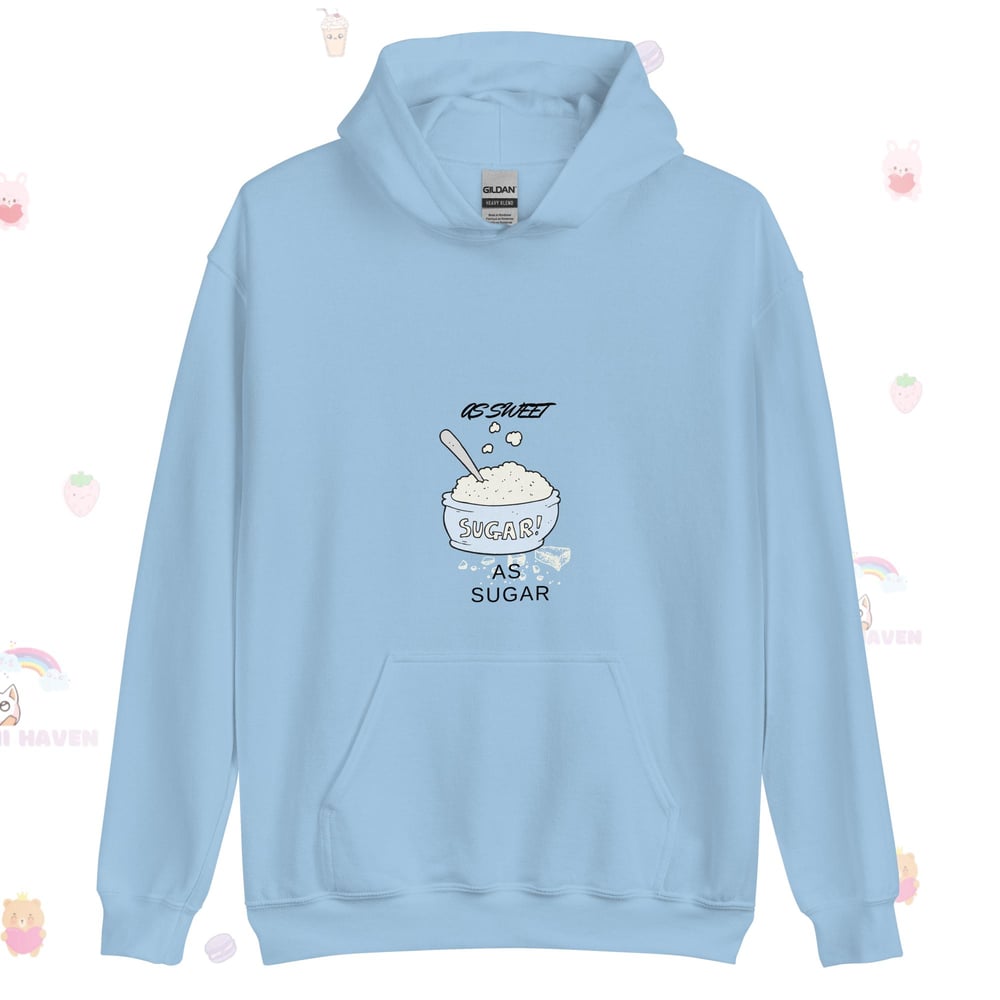
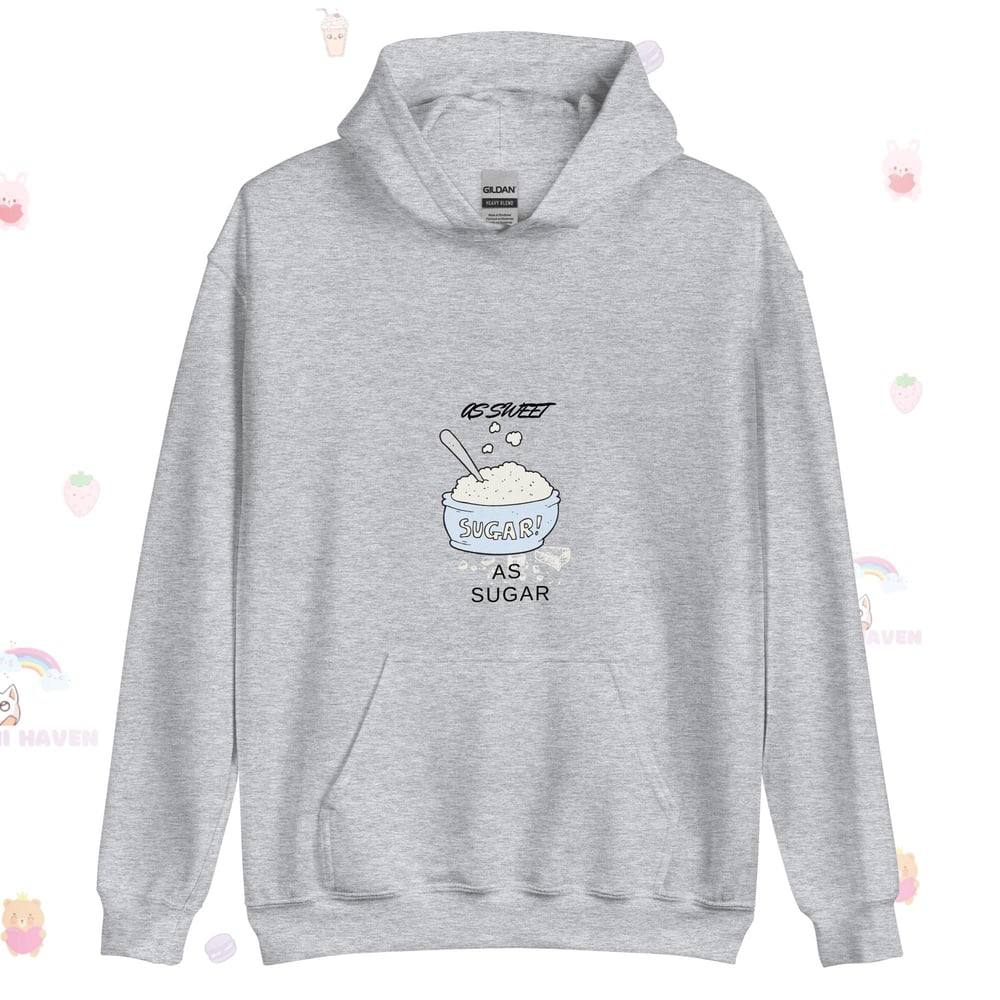
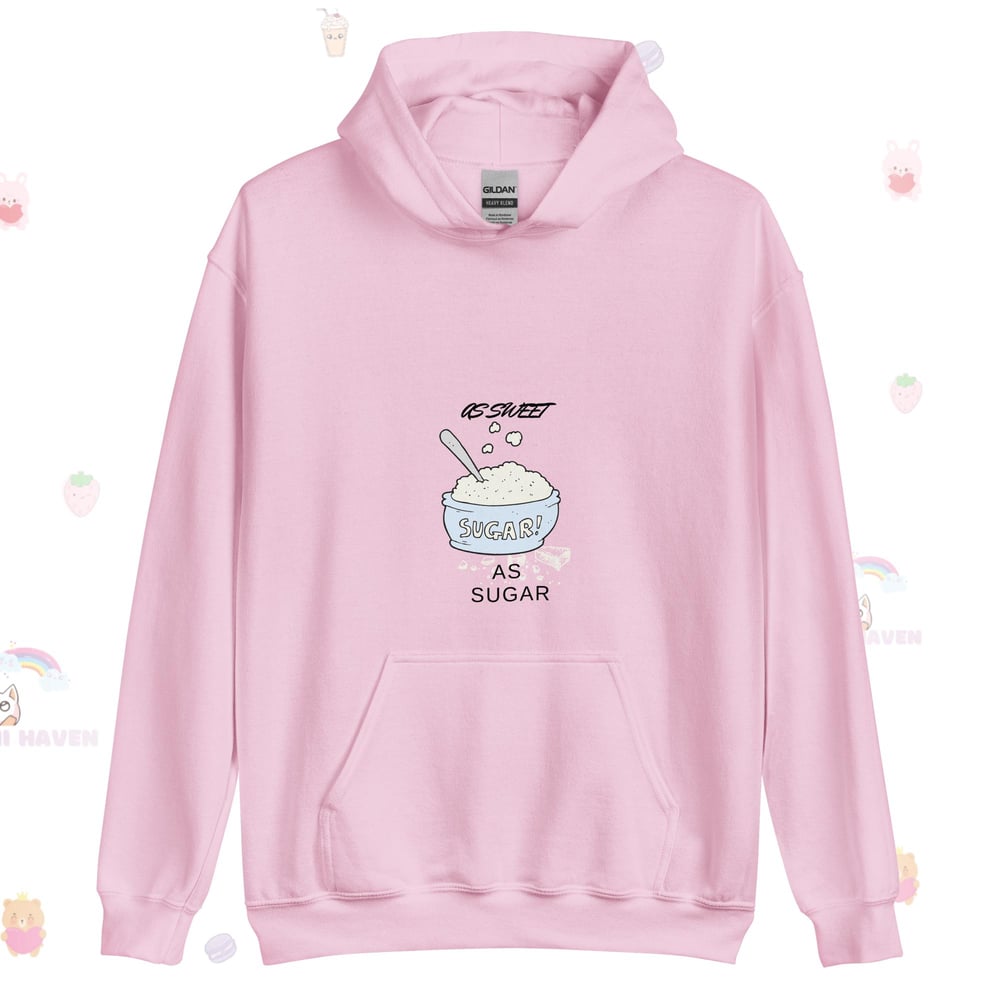
Unisex Hoodie
$
34.50
CAD
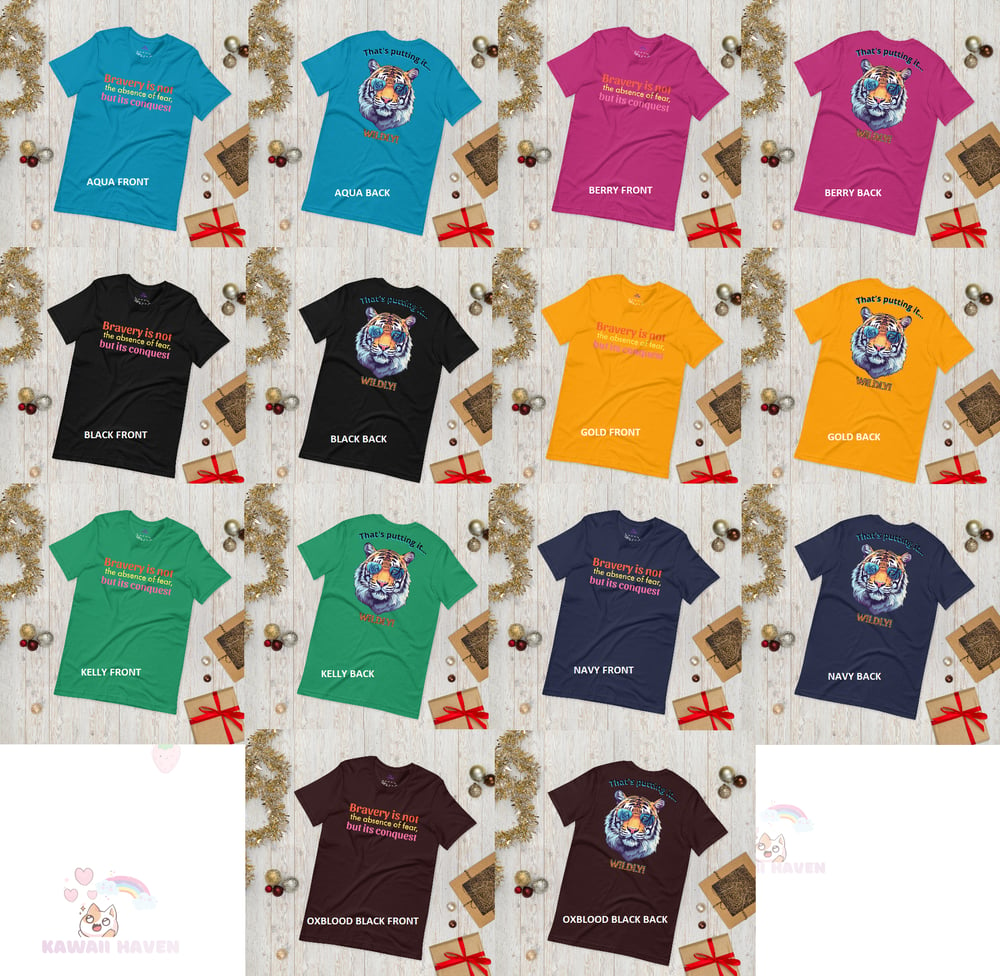
That's Putting It Wildly! Unisex t-shirt
On sale!
$
29.50
CAD
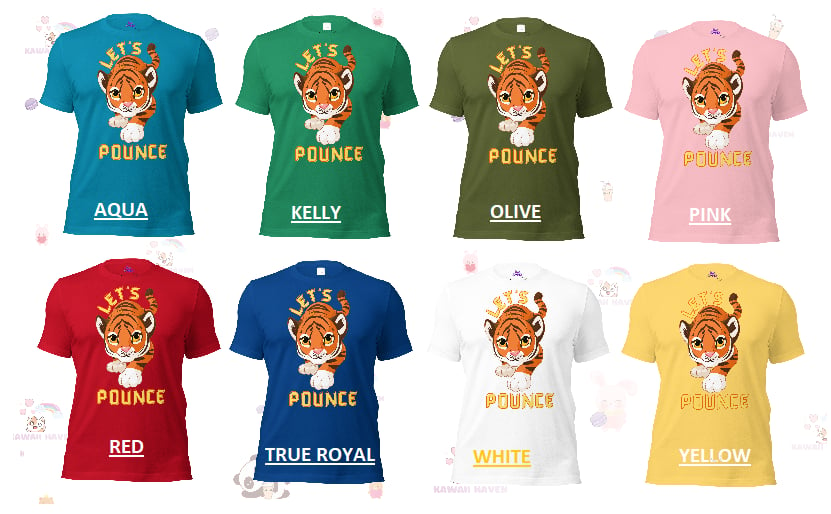
Let's Pounce Unisex t-shirt
On sale!
$
22.50
CAD
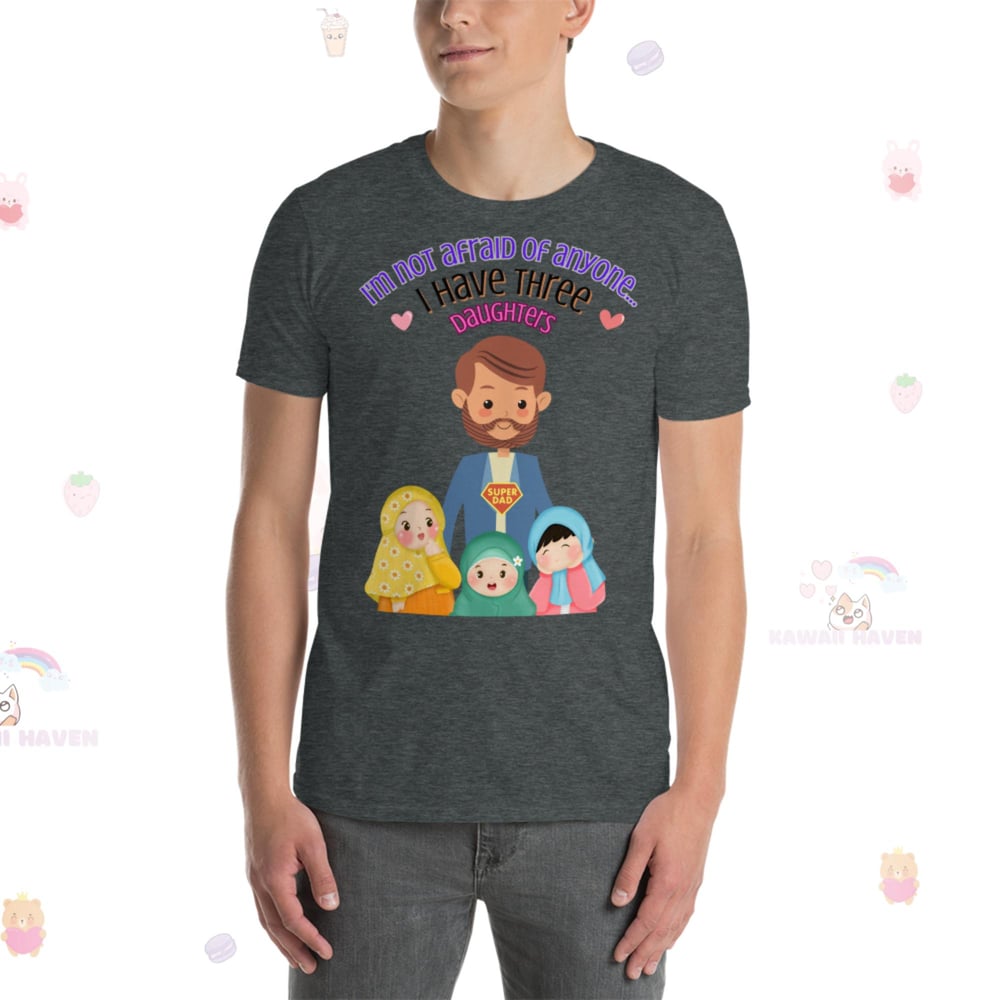
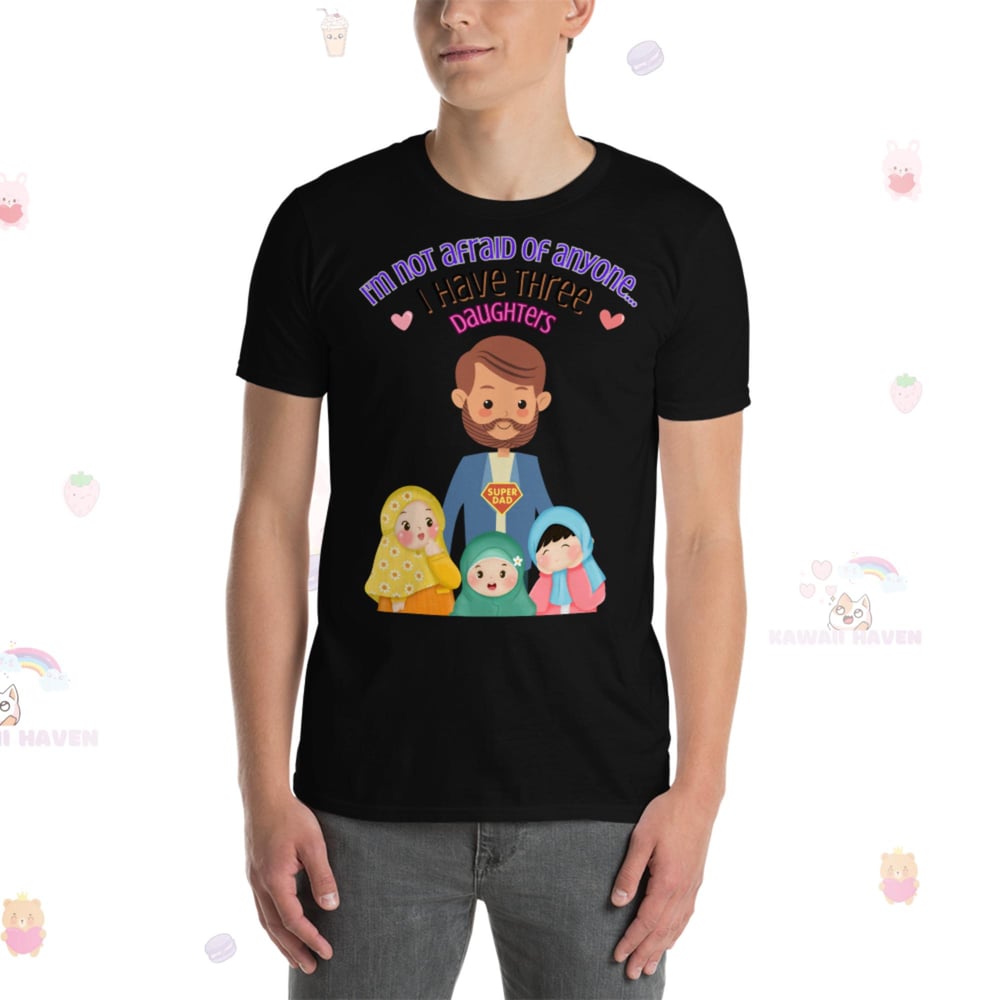
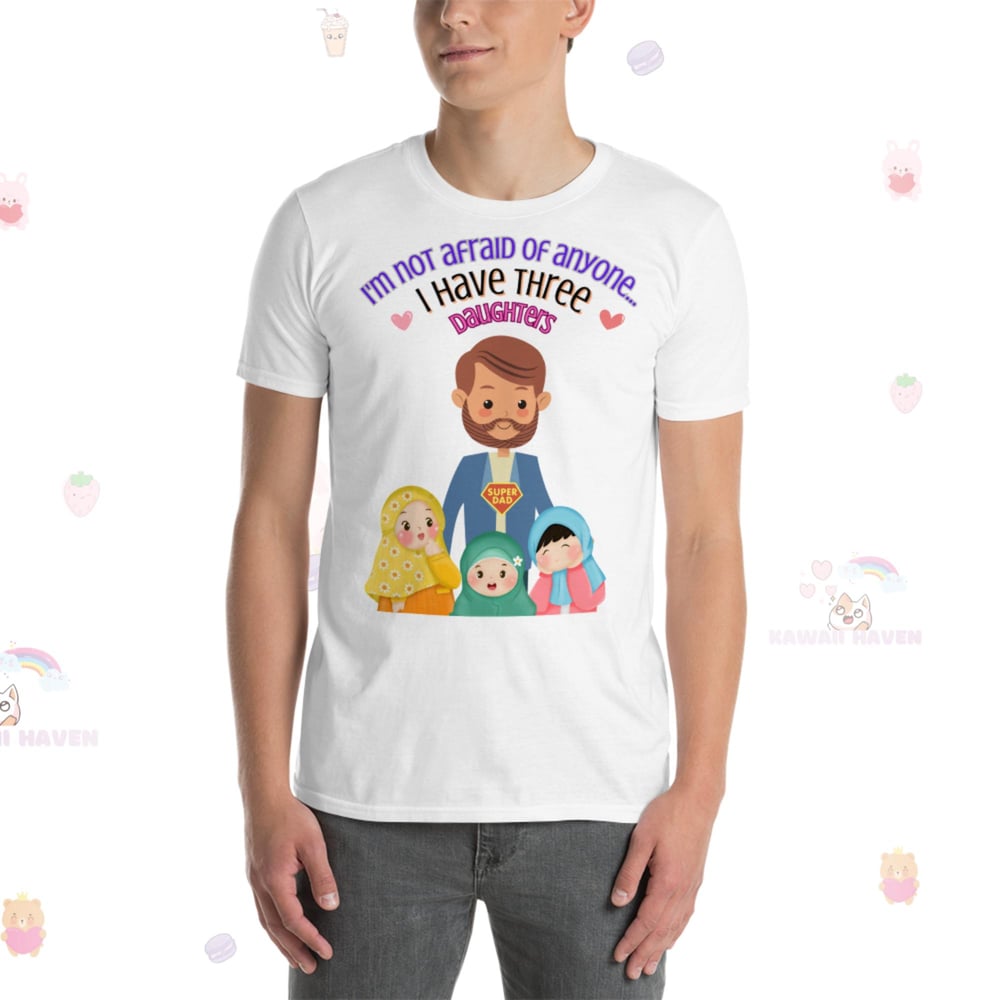
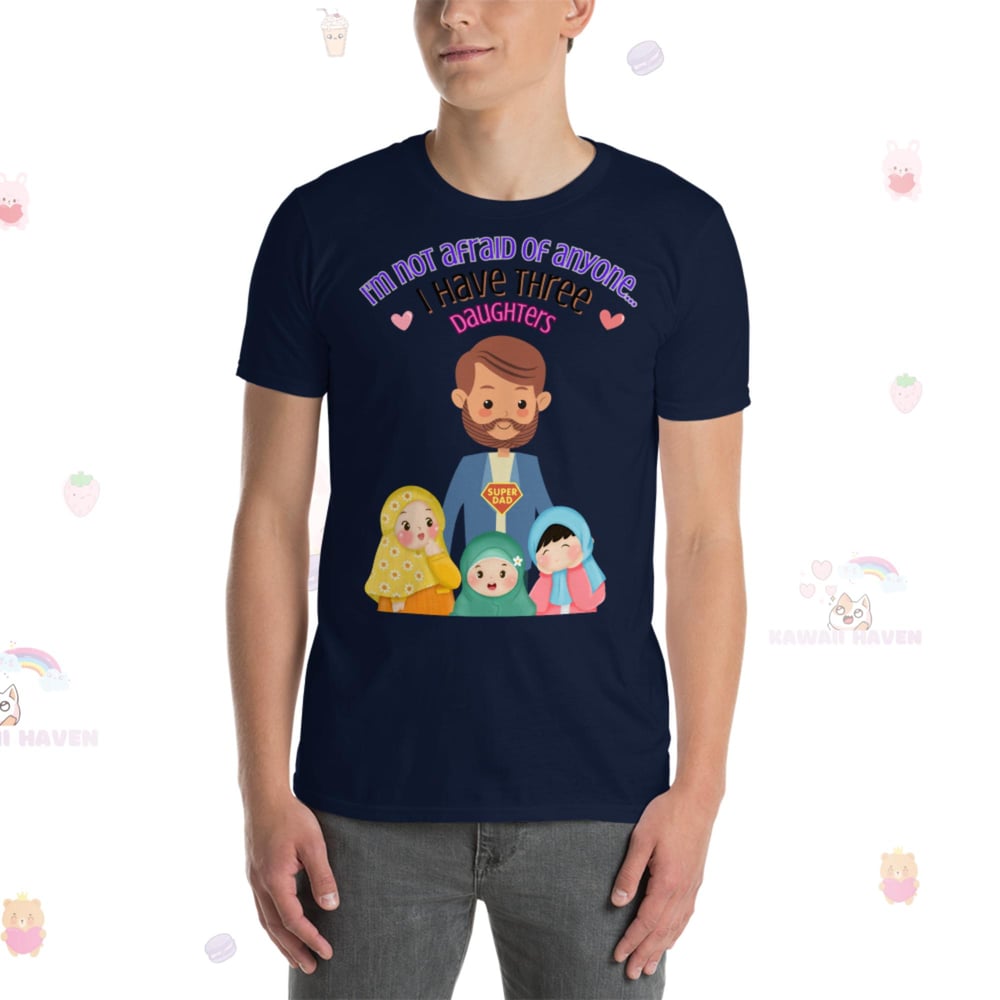
Short-Sleeve Three Daughters Dad Unisex T-Shirt
On sale!
$
24.00
CAD
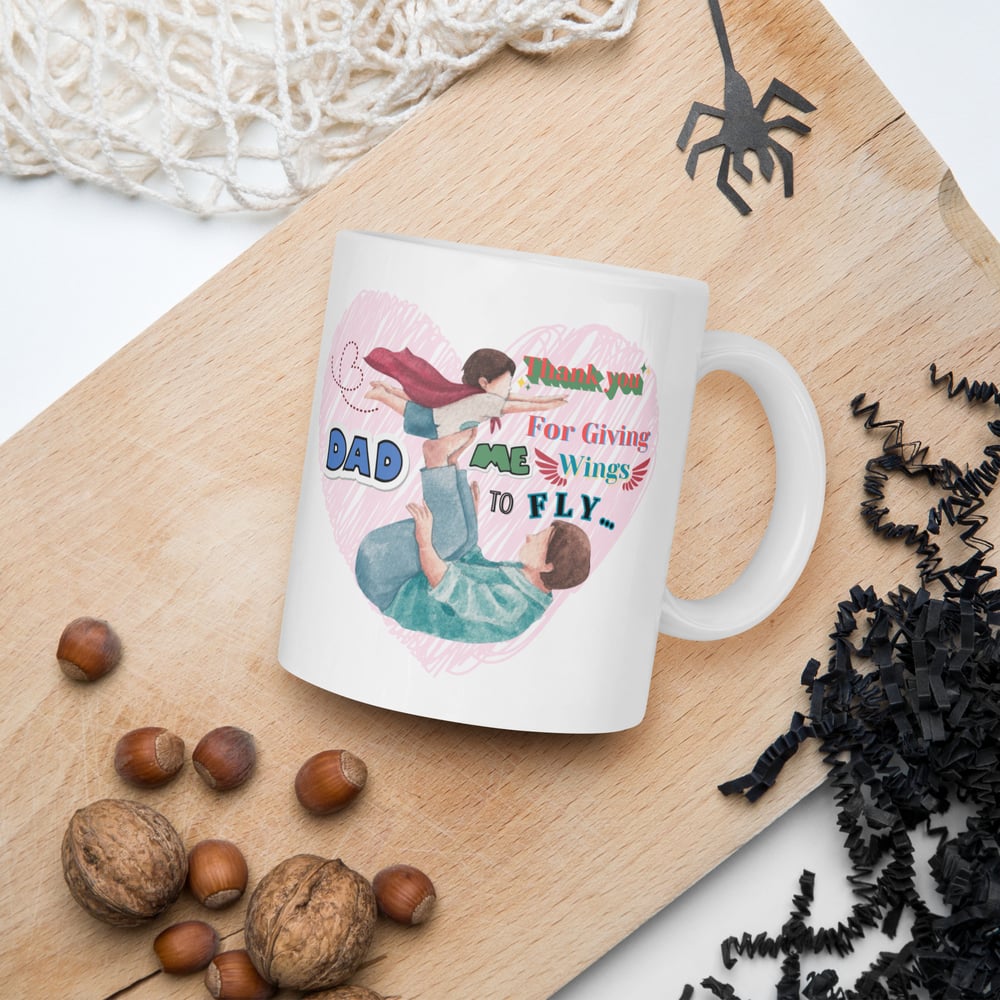
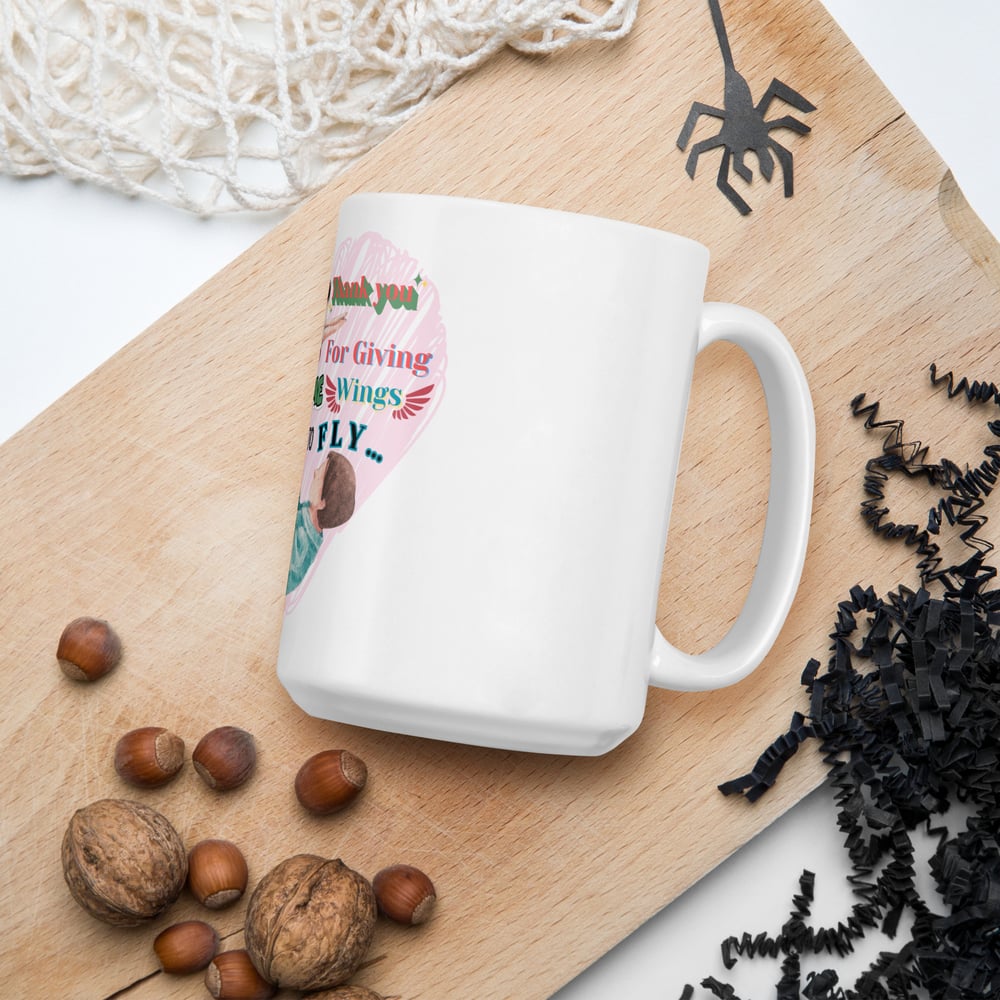
"Thank you Dad" White glossy mug
$
15.00
CAD
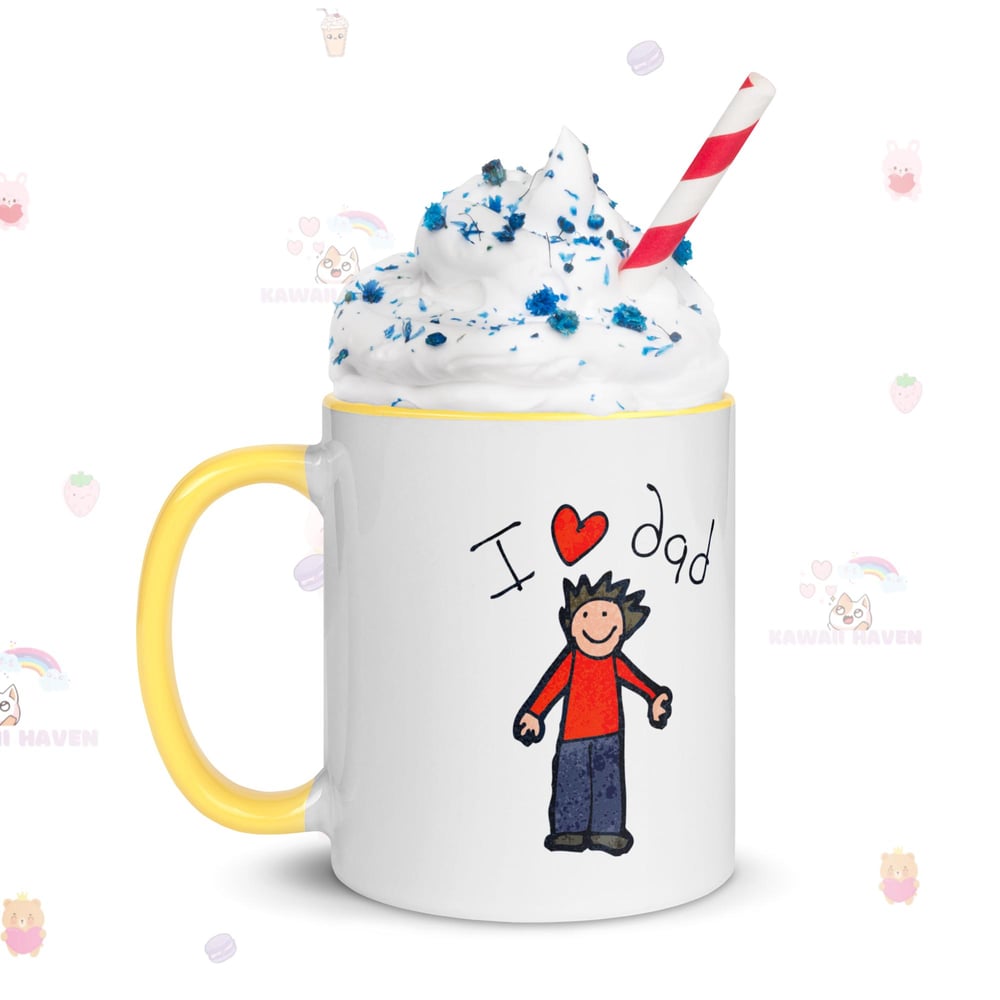
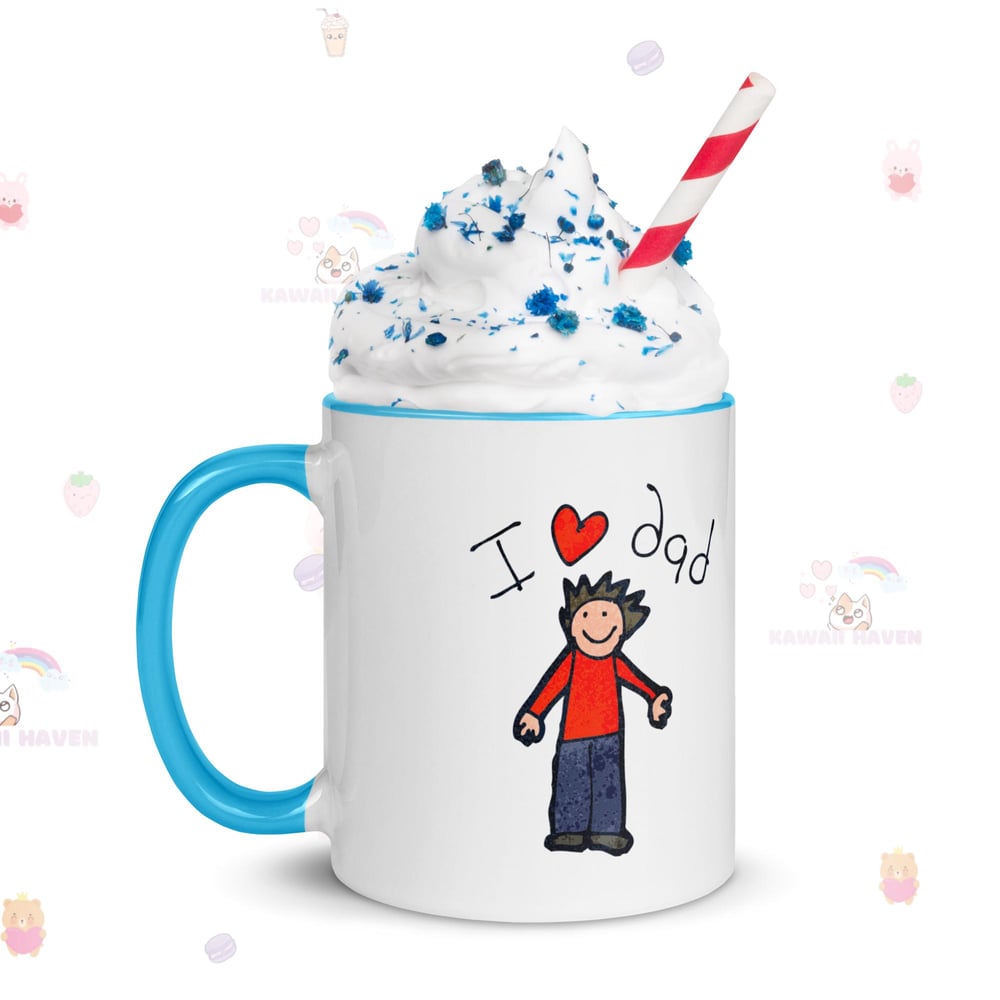
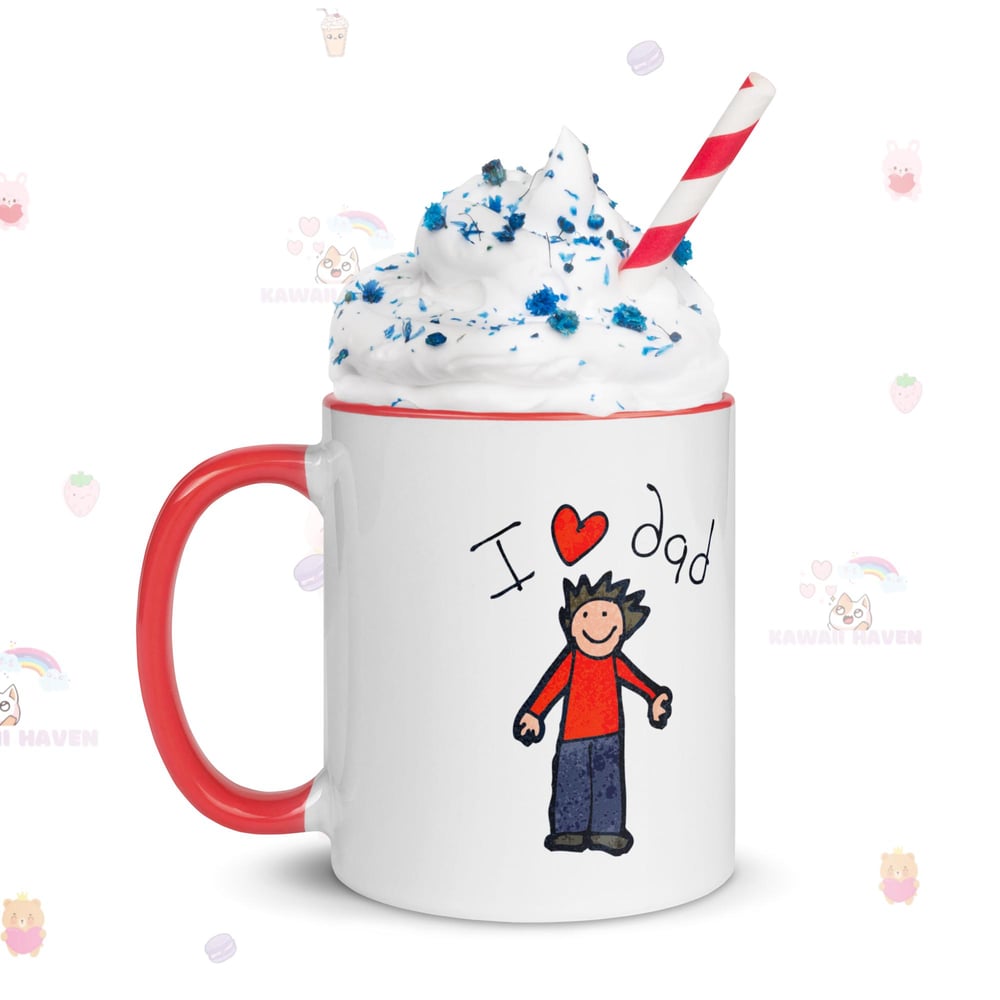
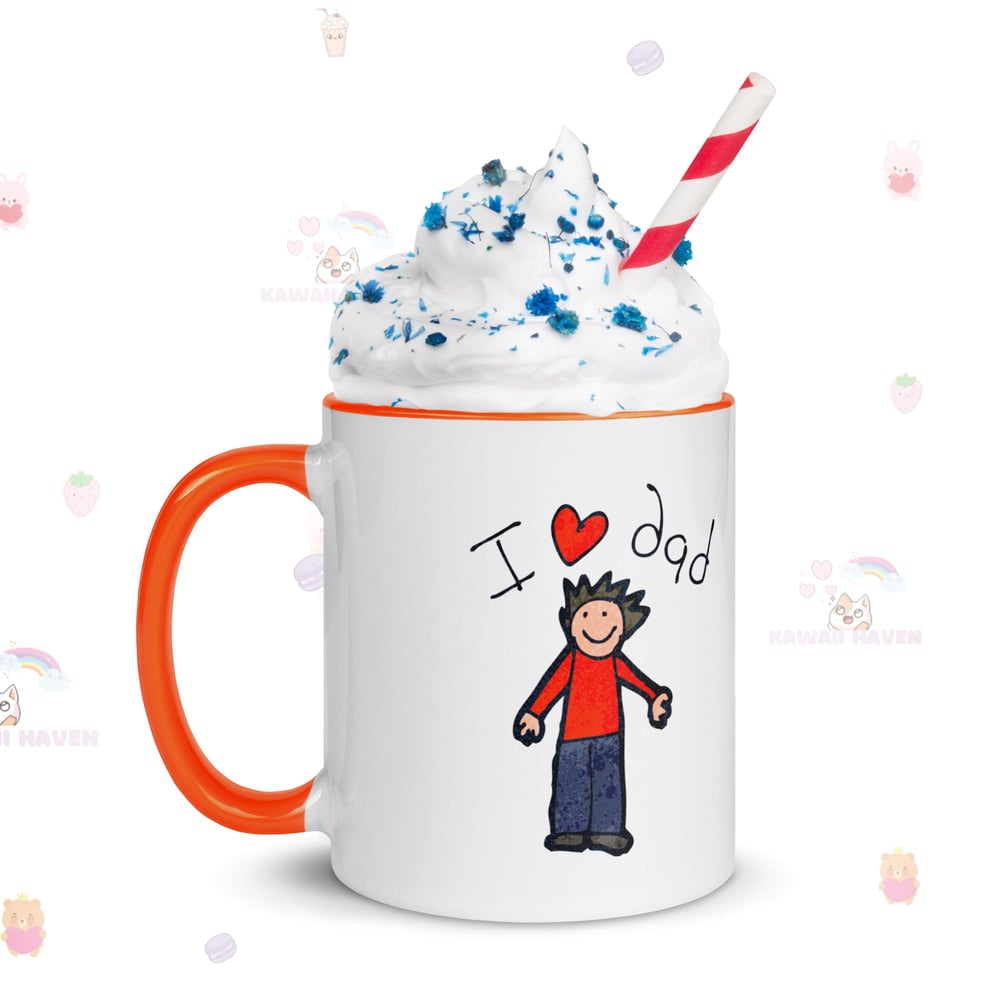
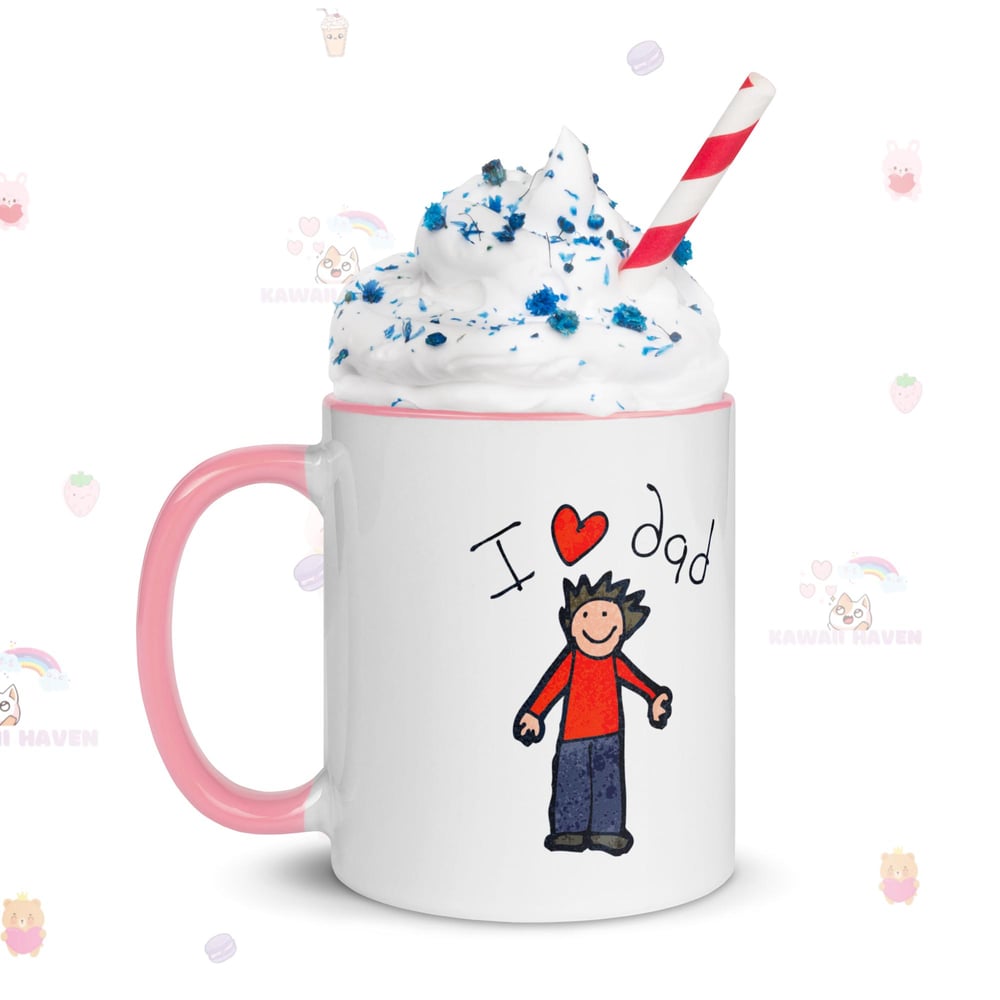
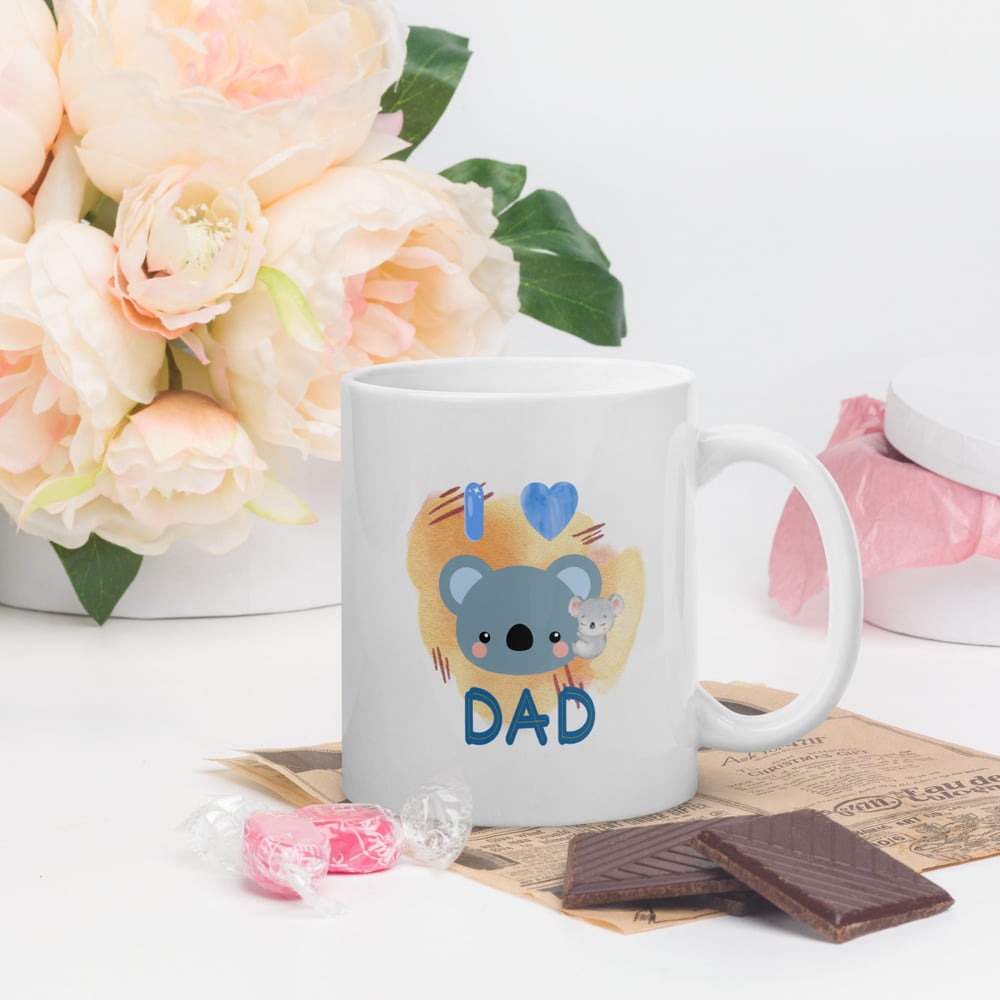
I Love Dad Mug with Color Inside
On sale!
$
15.00
CAD
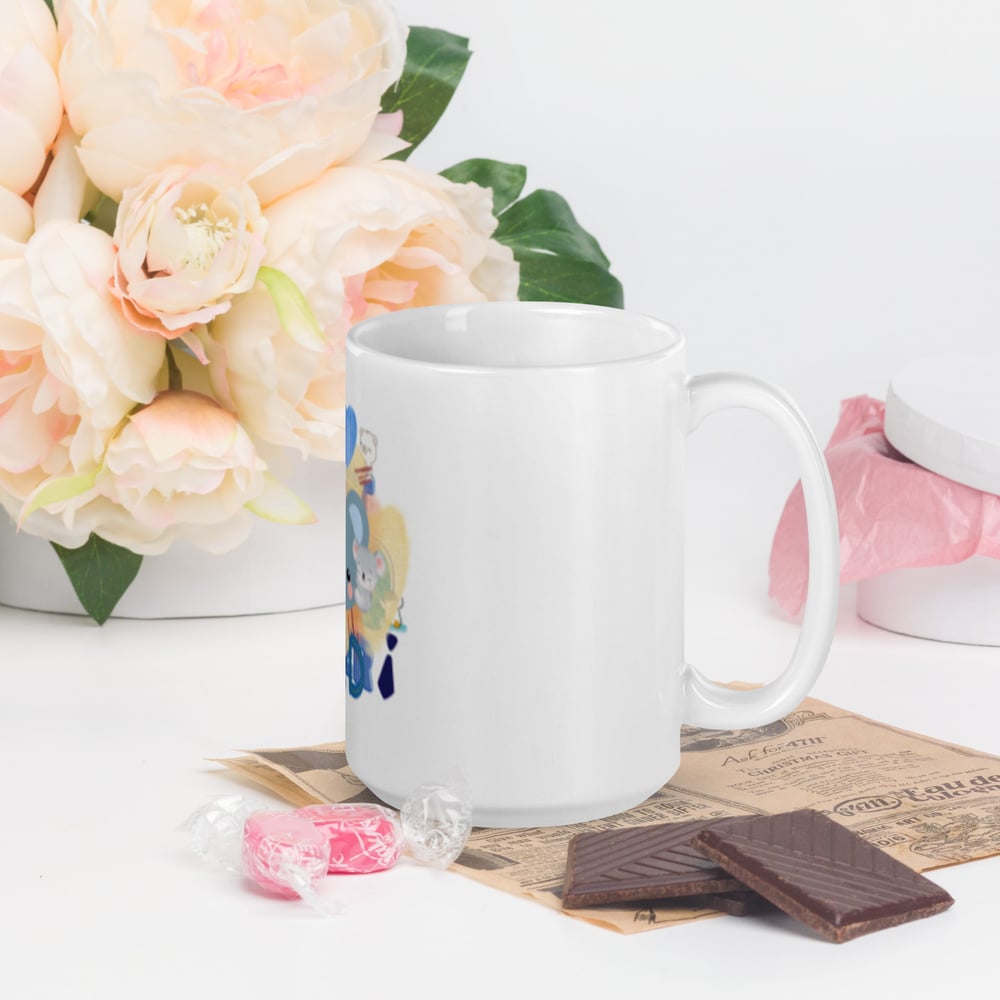
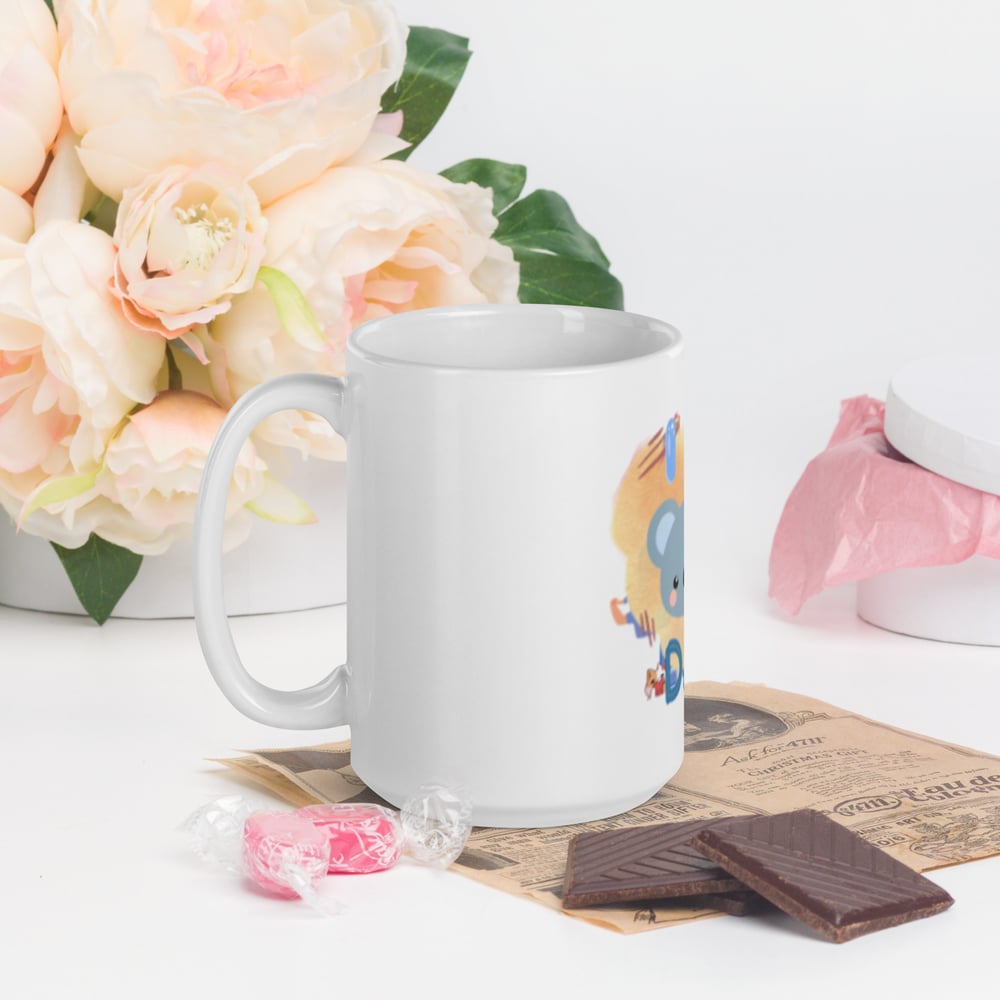
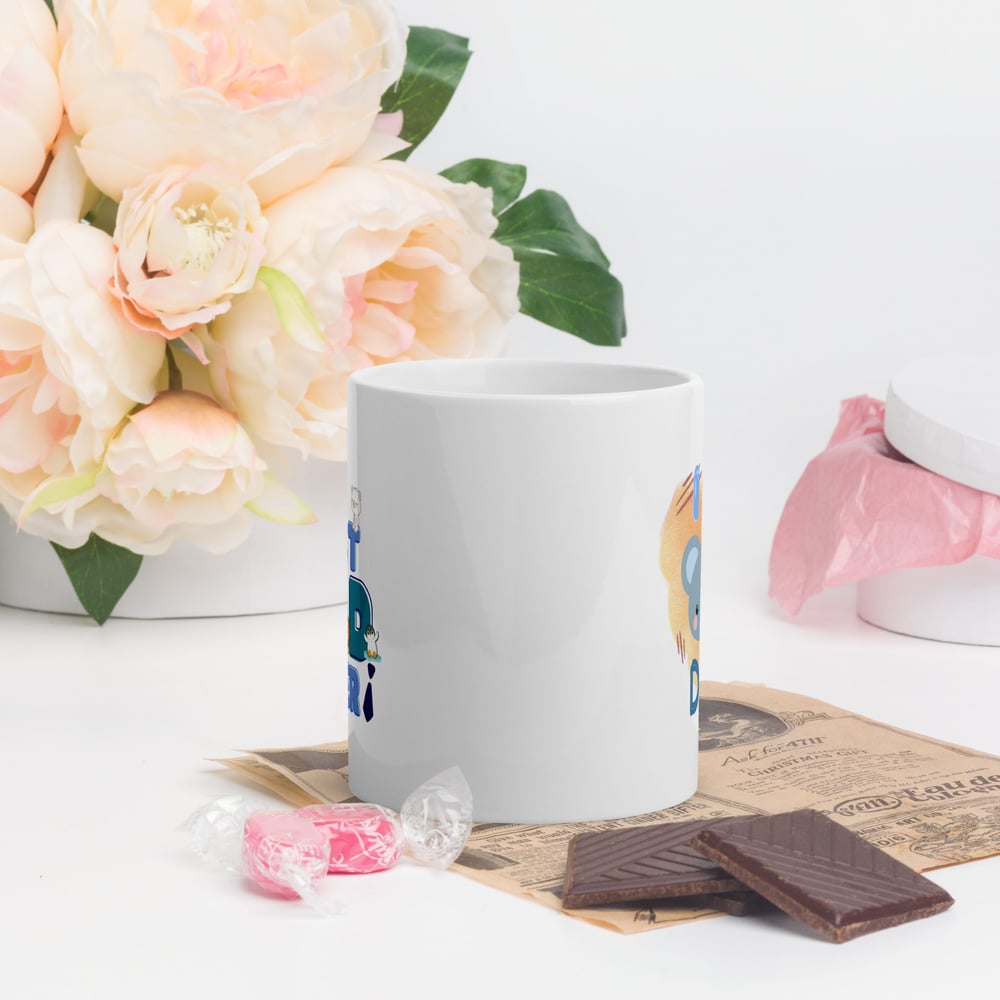
Two Side Printed Love Dad White glossy mug
$
15.00
CAD
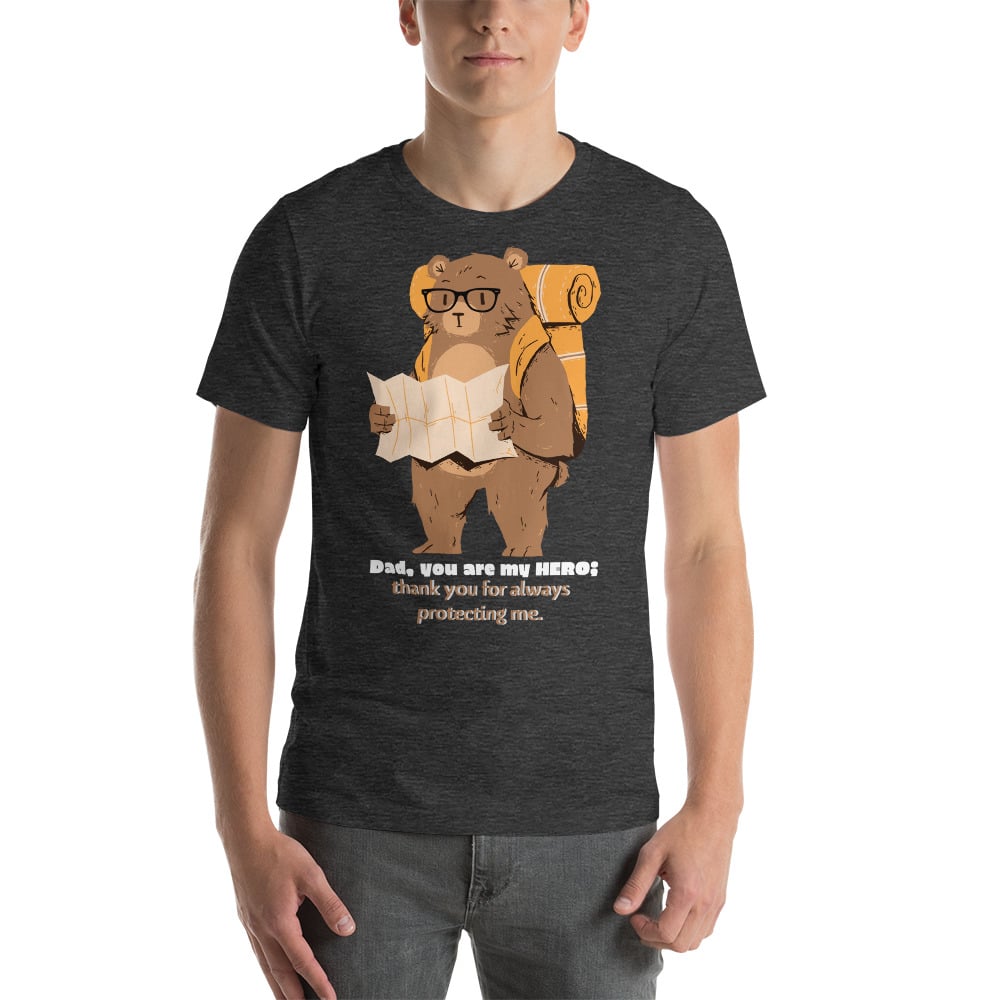
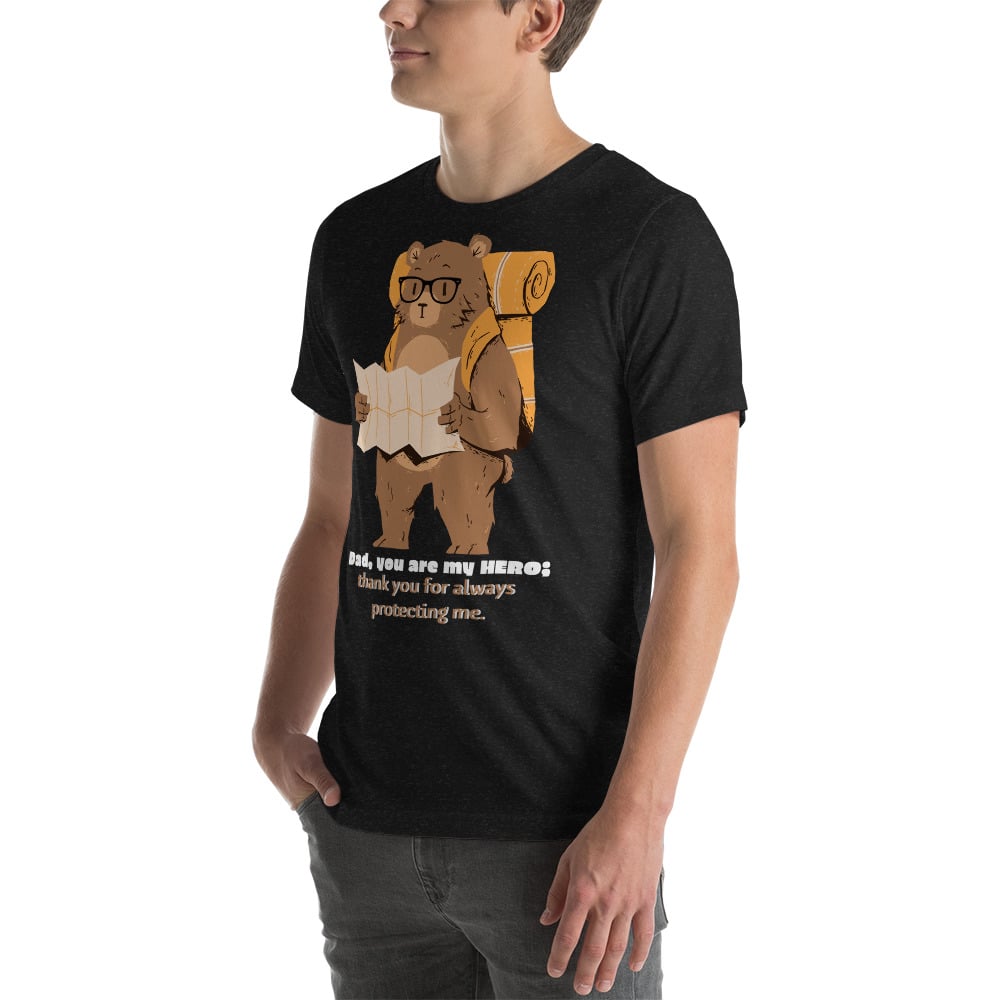
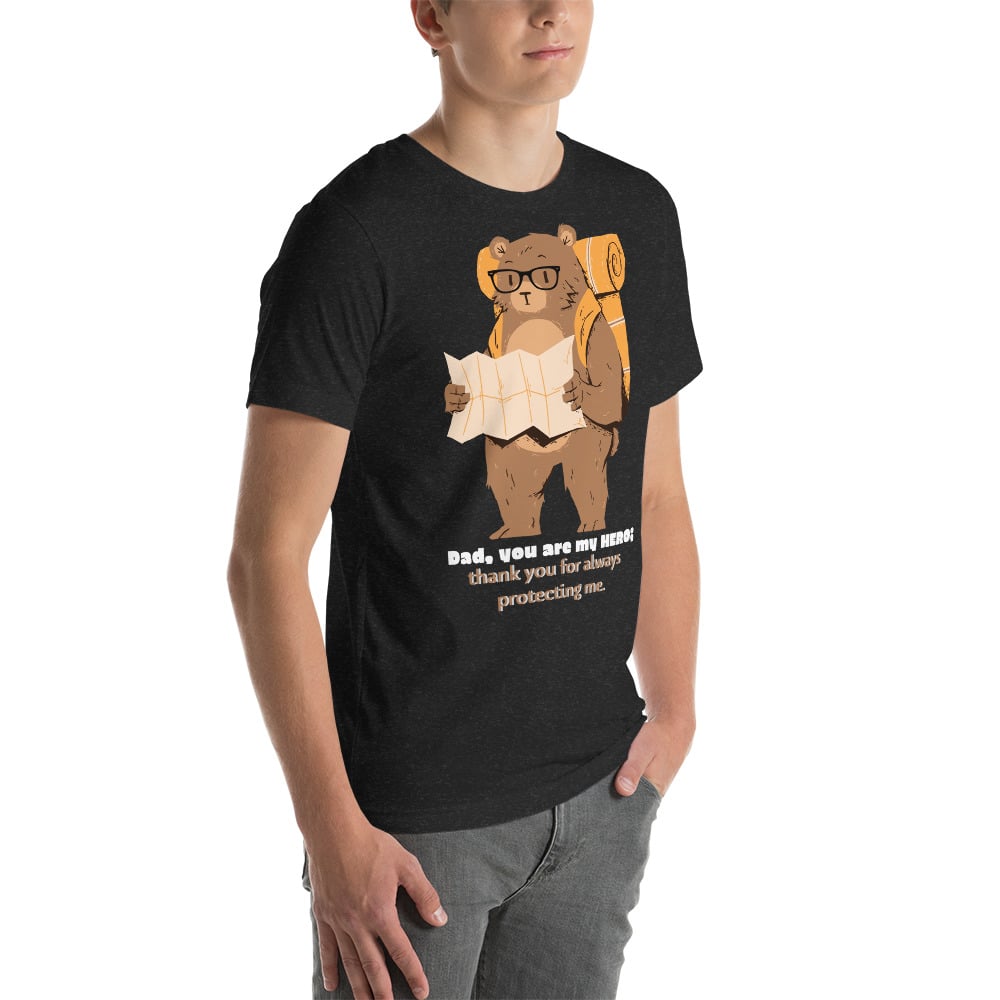
Unisex Hero Dad t-shirt (Dark Colors)
On sale!
$
24.99
CAD
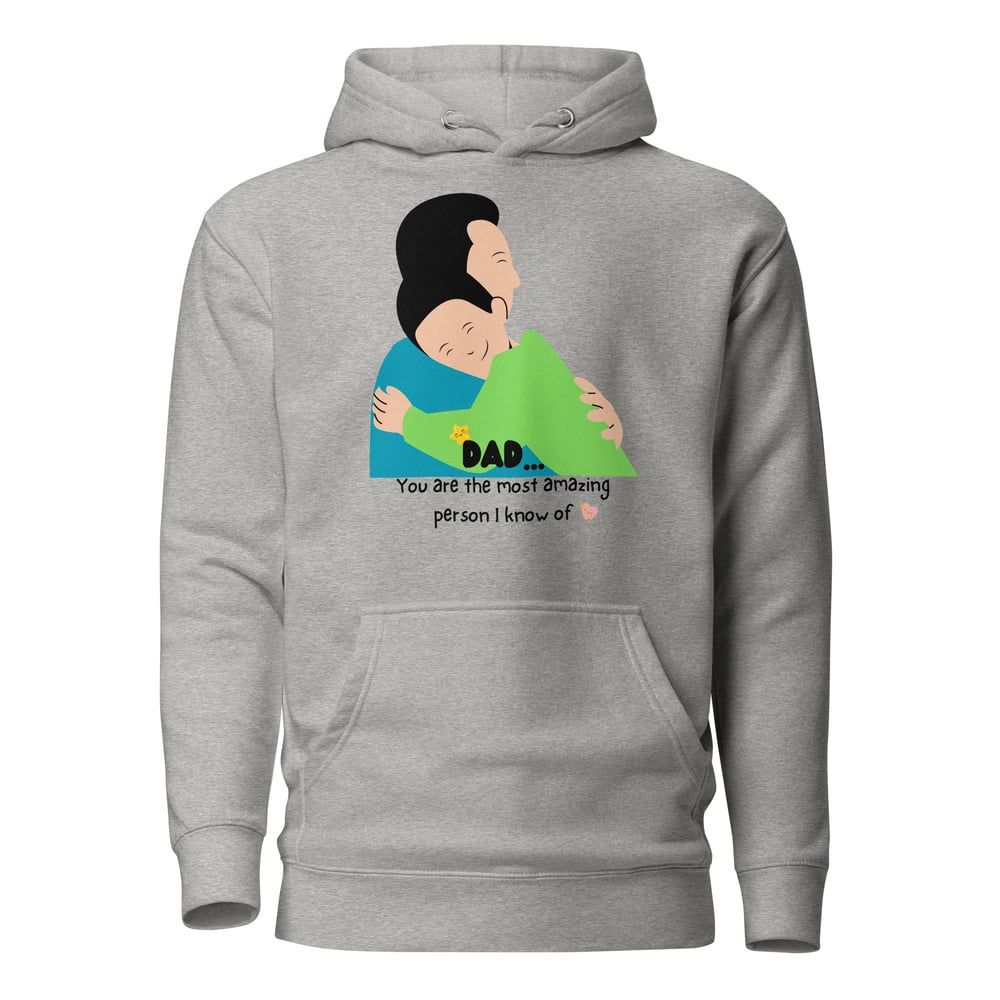
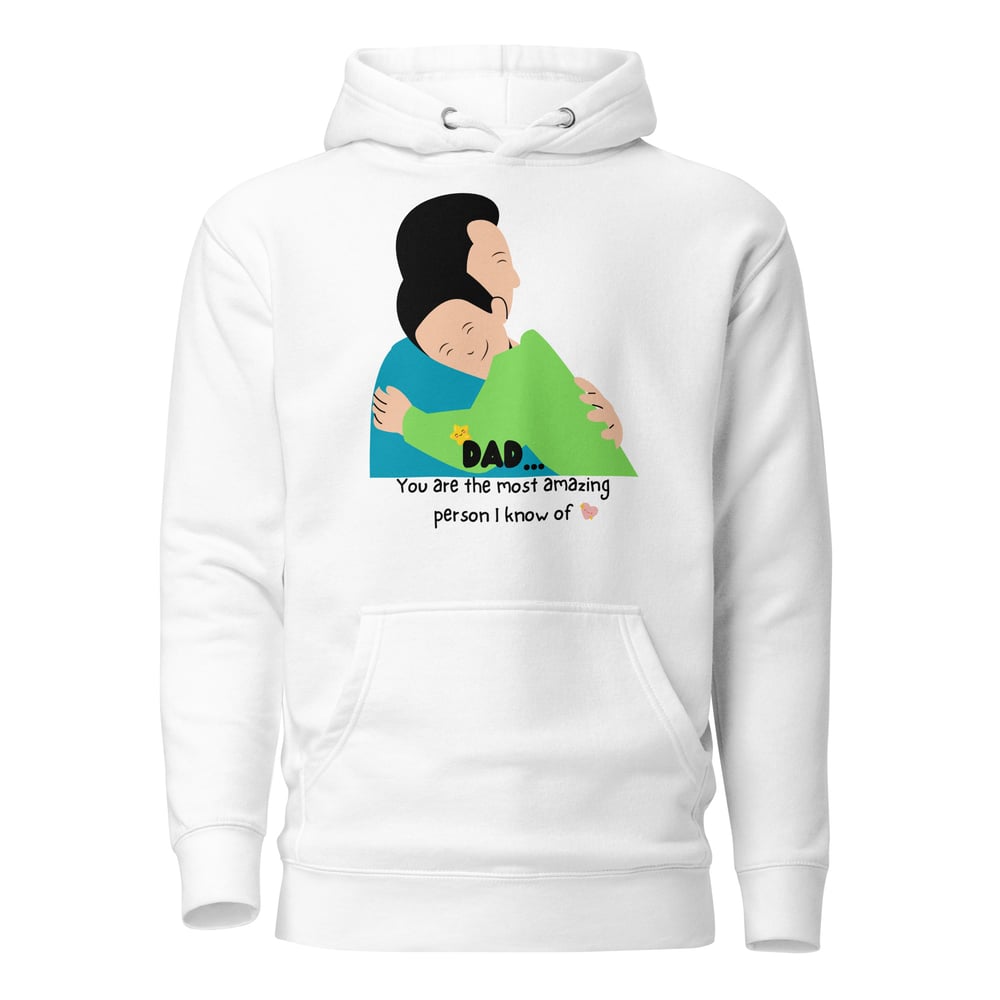
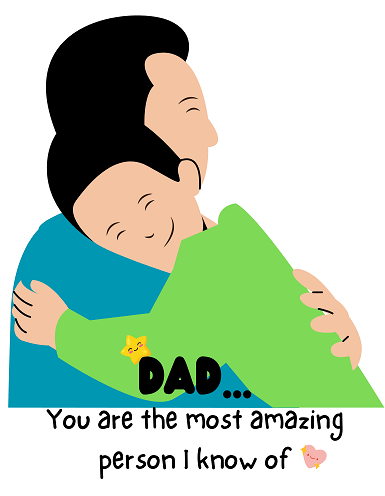
Unisex Amazing Dad Hoodie (Light Colors)
On sale!
$
49.99
CAD
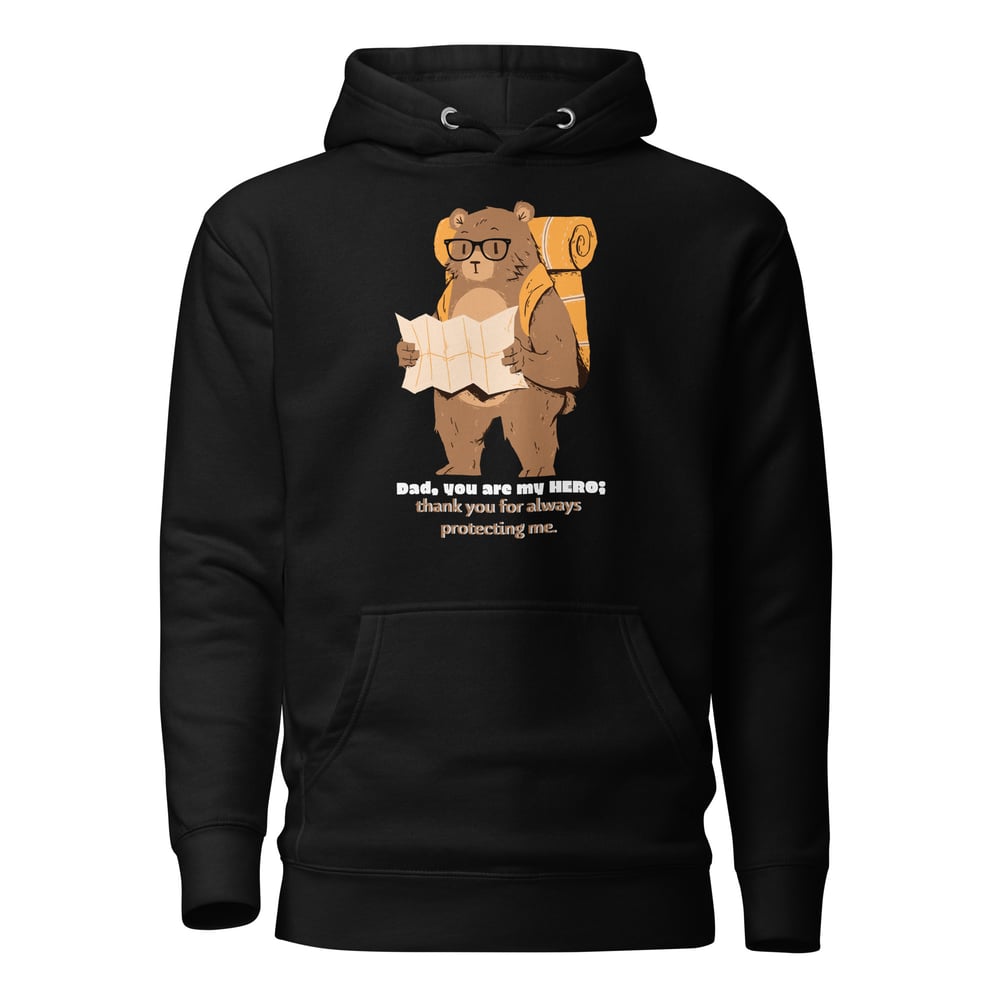
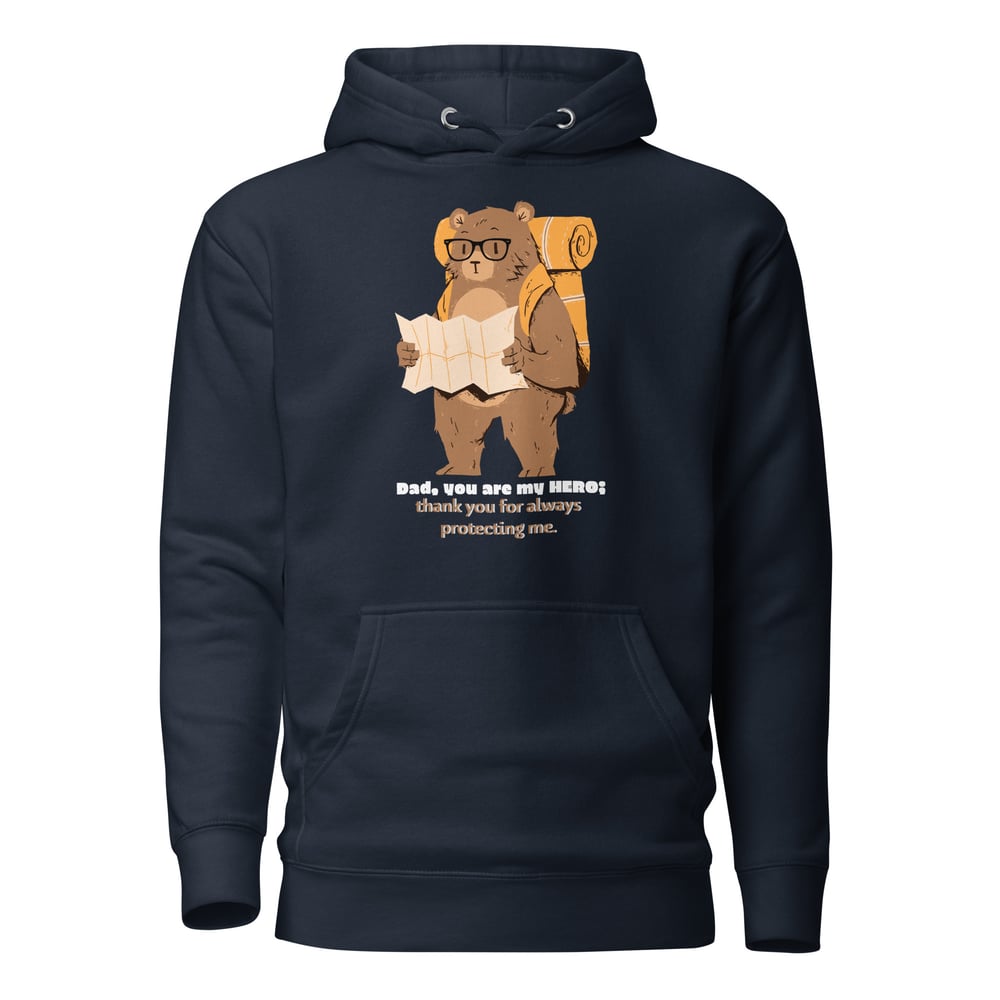
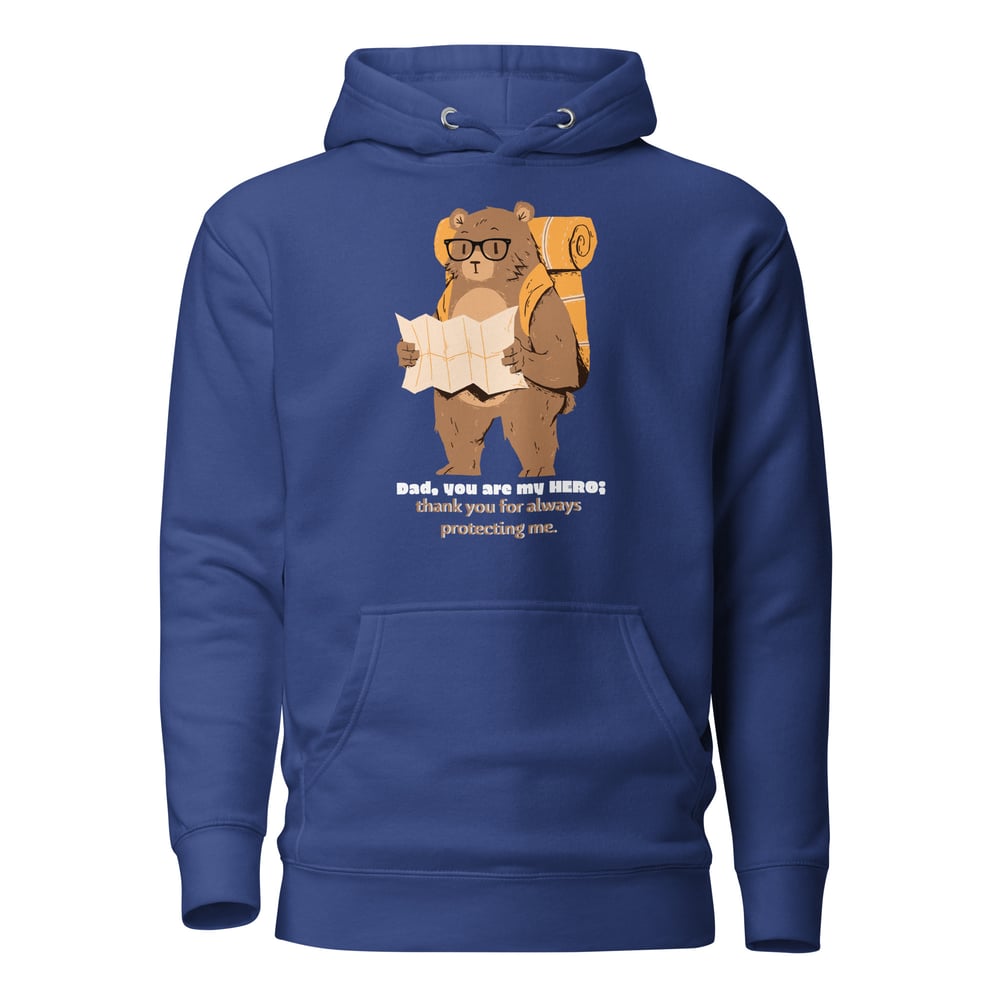
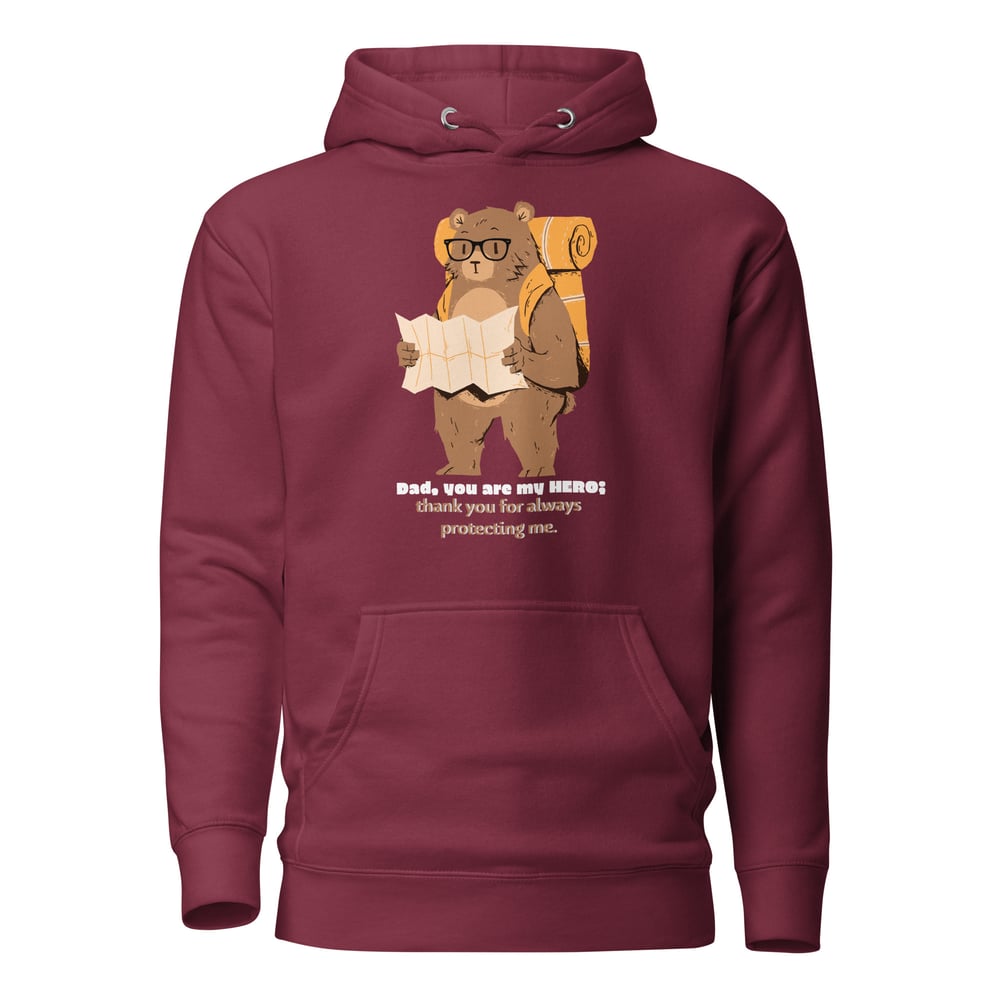
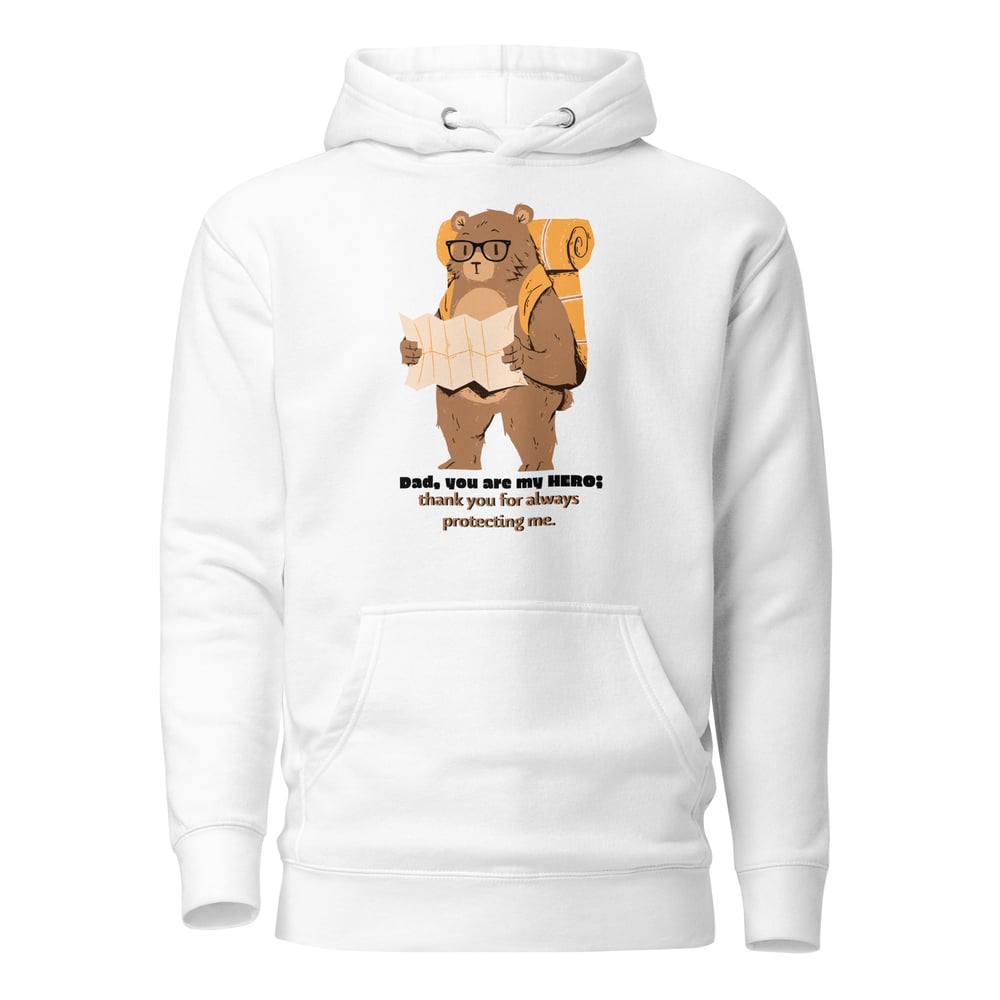
Unisex Hero Dad Hoodie
On sale!
$
49.99
CAD
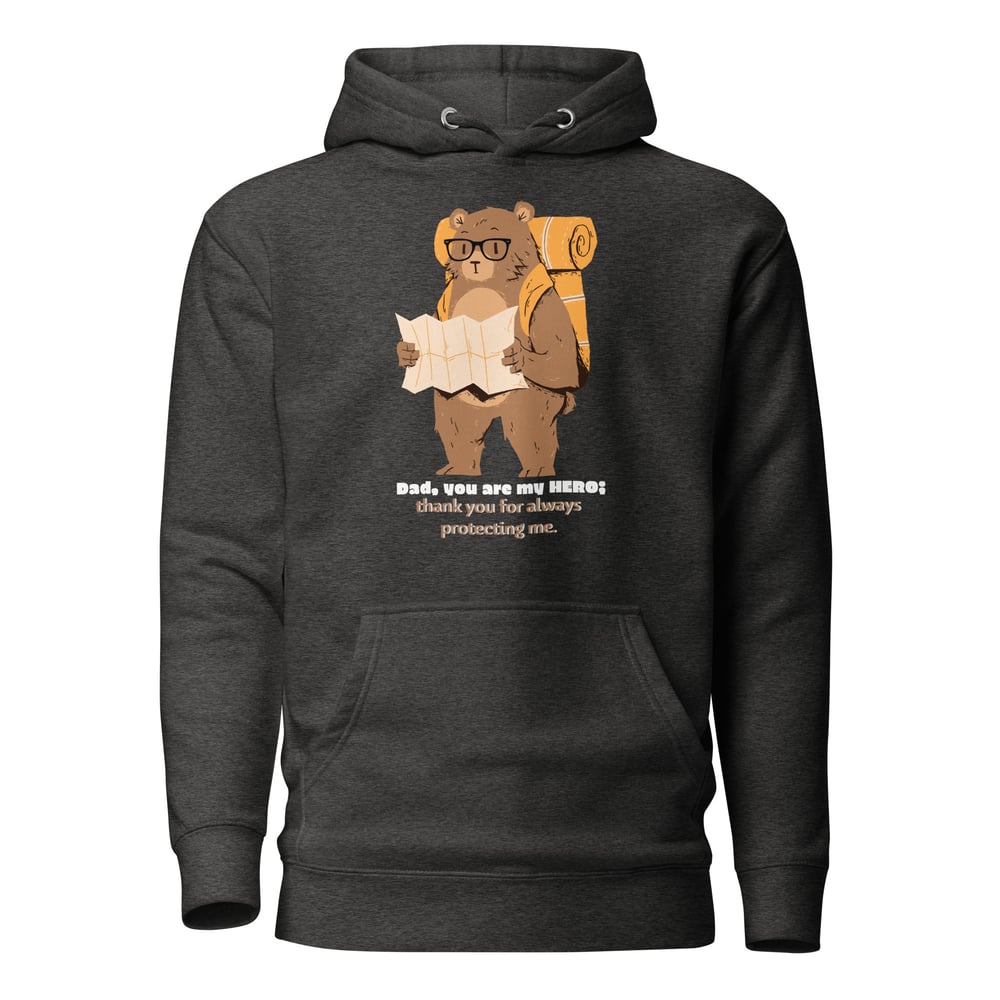
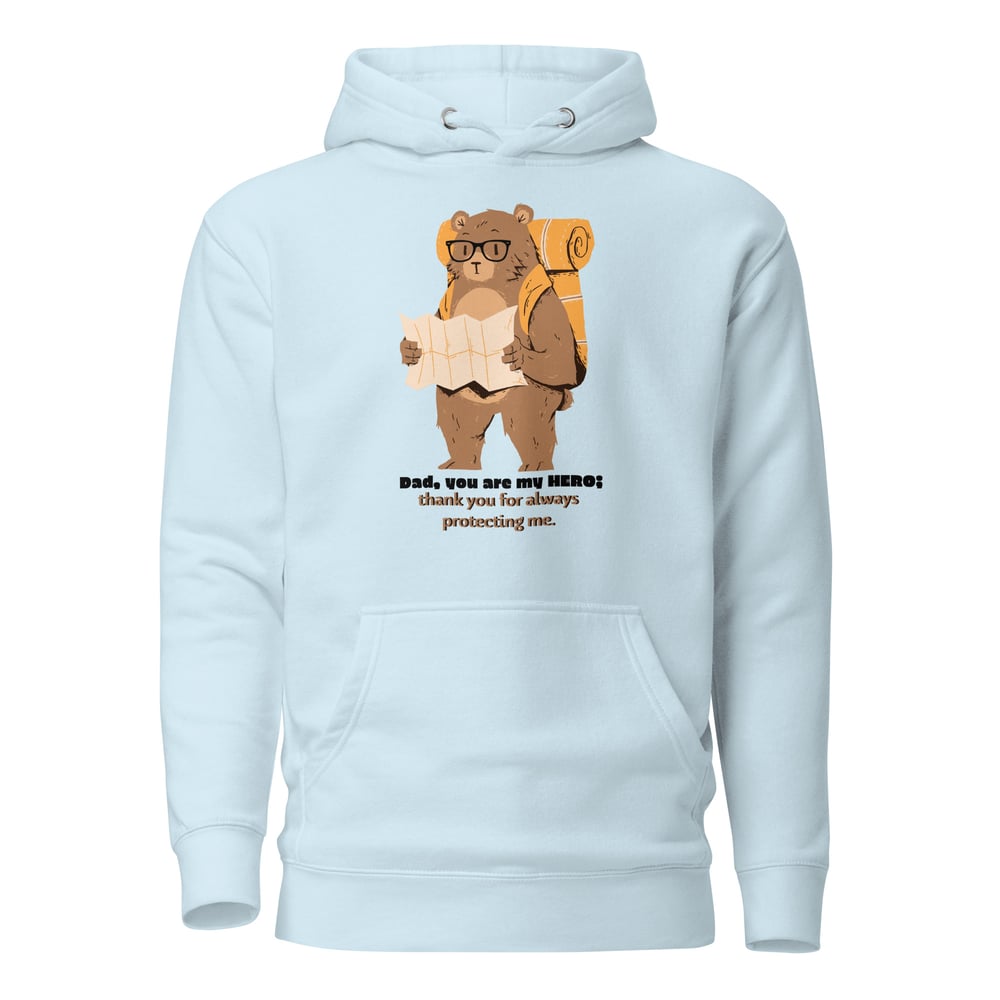
Unisex Hero Dad Hoodie (Light Colors)
On sale!
$
49.99
CAD
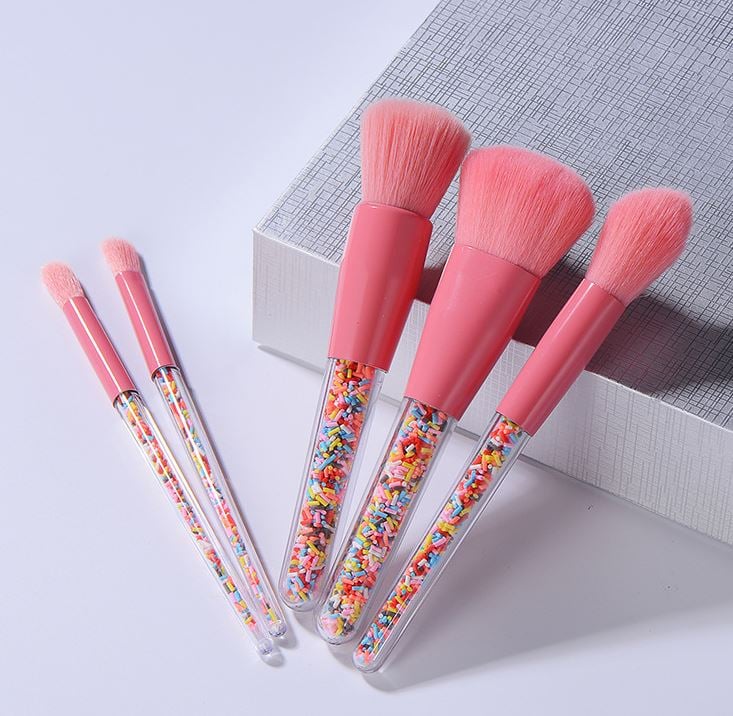
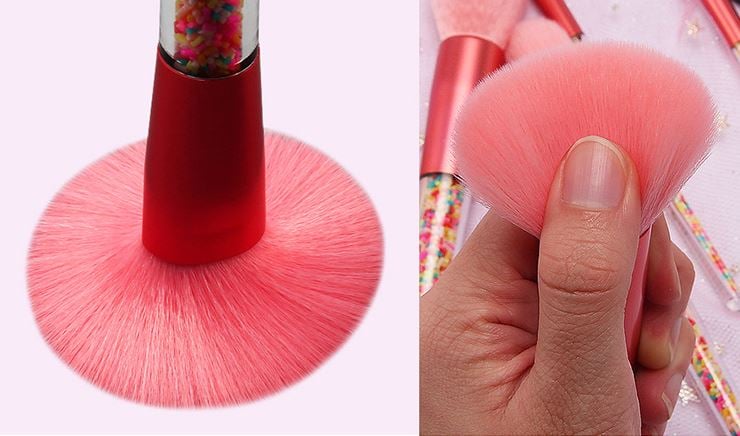
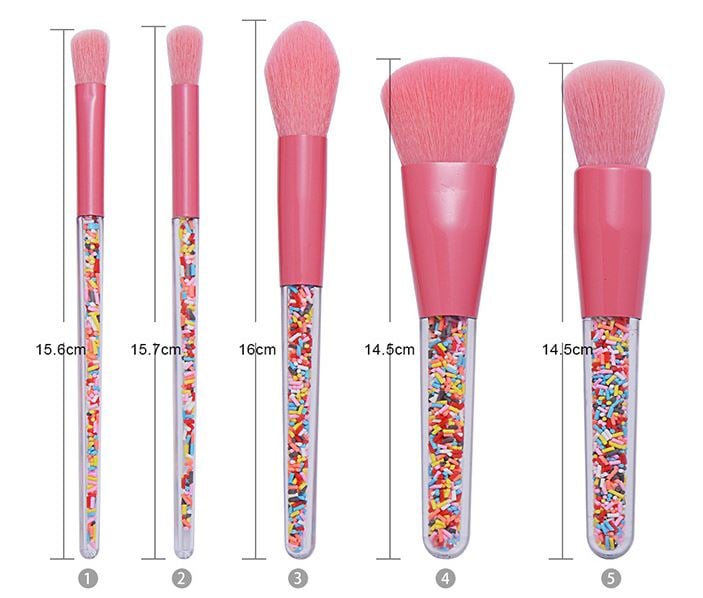
Sweeten Up Your Makeup Routine with 5pcs Lollipop Candy Crystal Brushes Set
On sale!
$
24.99
CAD
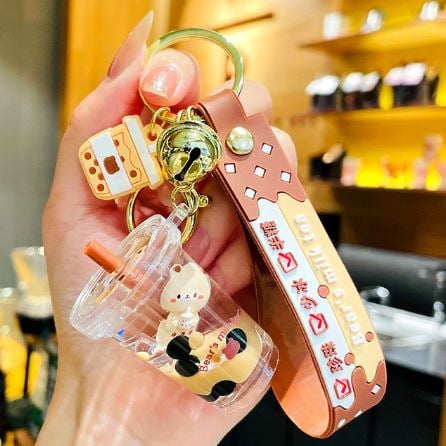
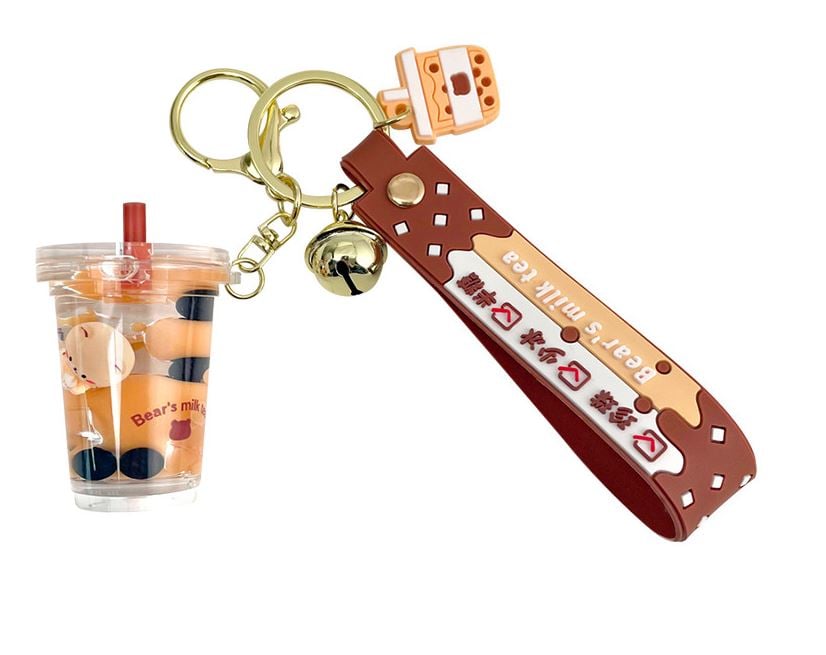
Cute Cartoon Milk Tea Cup Bear Keychain - Creative Oiled Pearl Design - ...
On sale!
$
9.99
CAD
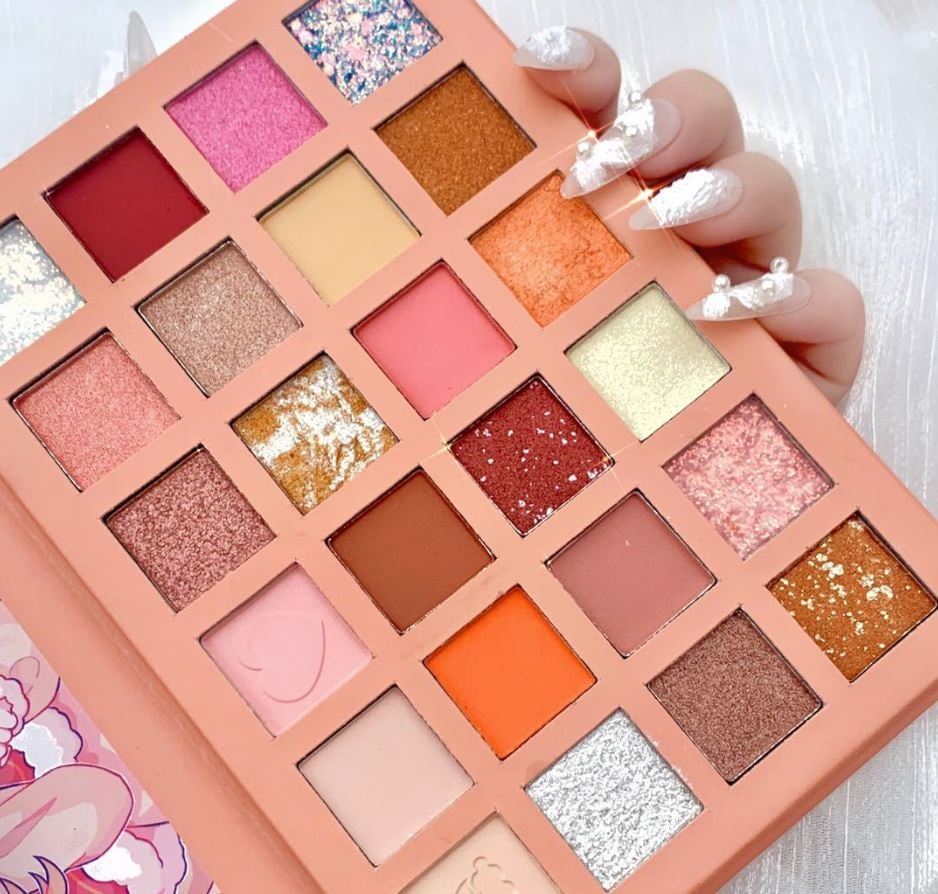
Sweet Strawberry 24-Color Glitter Pearlescent Eyeshadow Palette
On sale!
$
36.99
CAD
All Products